Little Big Adventure 2

| a game by | Adeline Software International |
| Platform: | PC (1997) |
| User Rating: | 7.3/10 - 3 votes |
| Rate this game: | |
| Updated: | Sep 3, 2020 |
| See also: | Action Games, Action Adventure Games, Little Big Adventure Series |

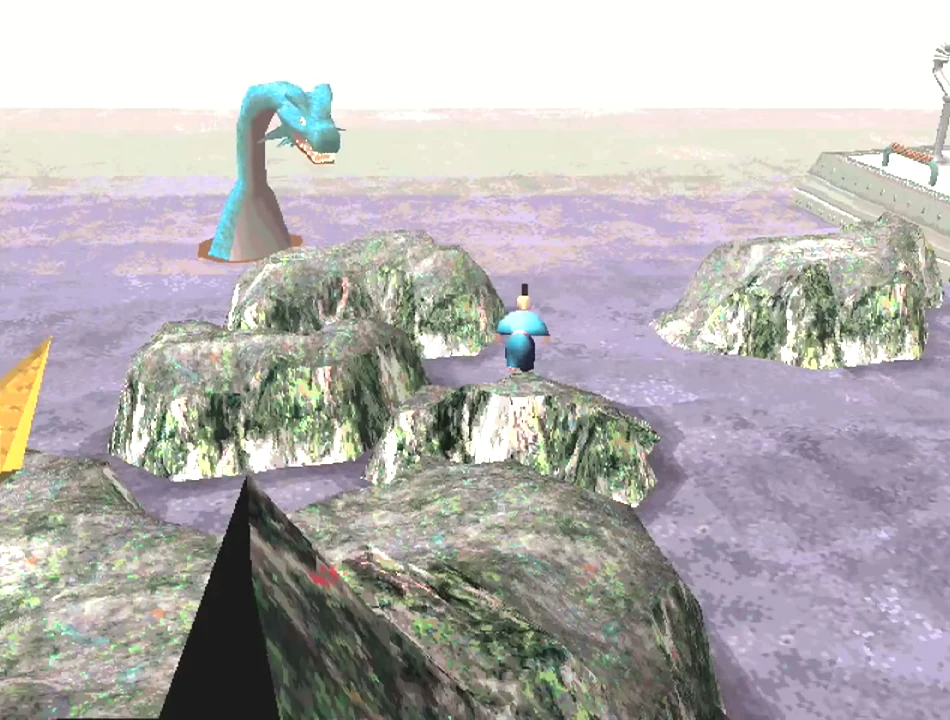
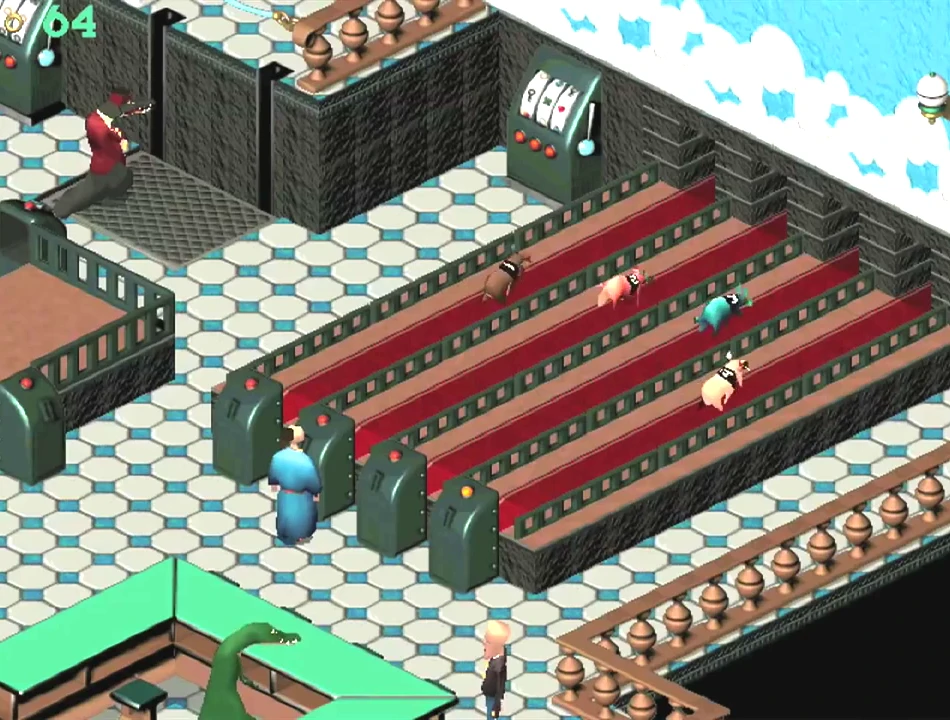
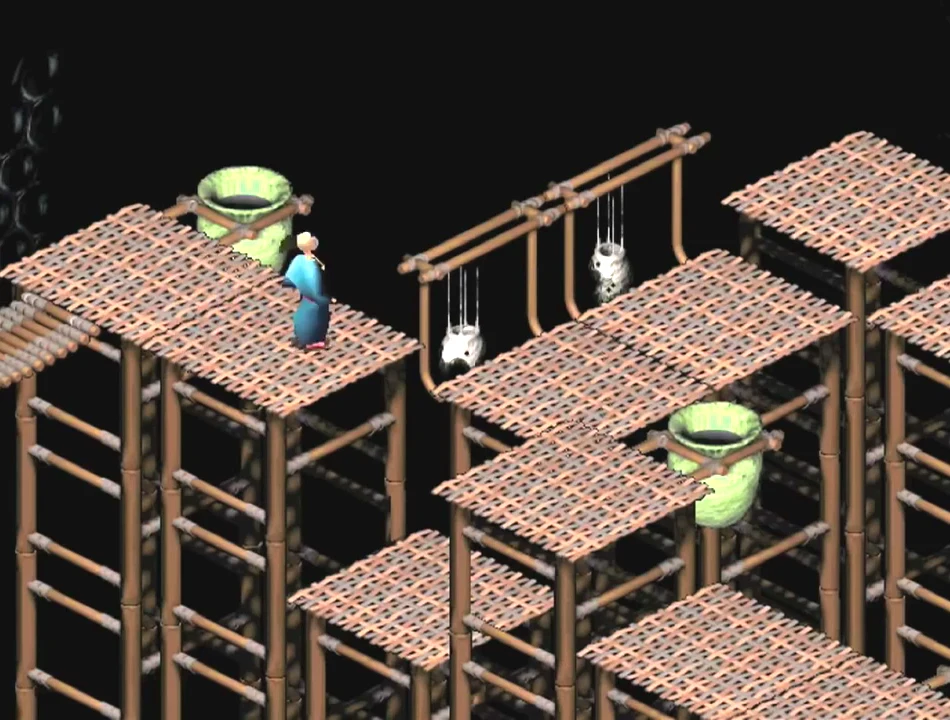
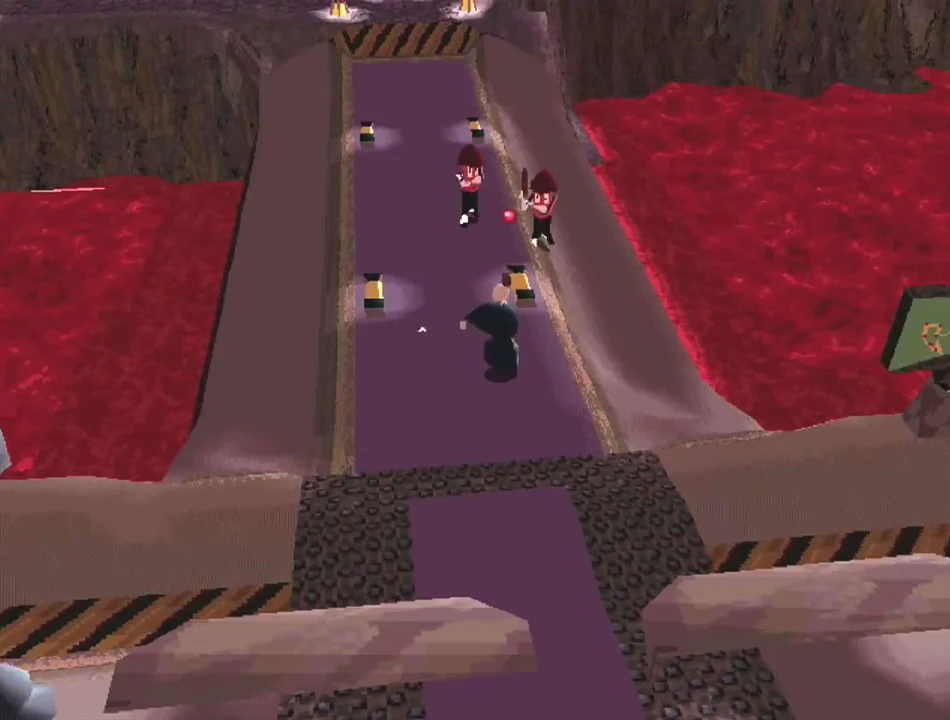
Walkthrough
Chapter 1
Take the cellar key from the dresser in the bedroom. In the cellar take your magic ball from the barrel, the holomap from the shelf and the three darts. Now go into town and find the pharmacy. Mill around for a while and a young lapichon will enter and steal a customer's umbrella. Follow him - the customer won't help you until you return it. You'll have to approach the thieving lapichon from behind in 'Discreet' mode in order to speak to him. The grateful customer will suggest you visit the healing wizard on Desert Island. Crossings are cancelled because of the storm, which means that you'll need to find Raph the lighthouse keeper so that the weather wizard can end the storm. First you'll need your robe from the museum, so make your way to the museum roof, climb through the open window and flick the switch (one opens the stair door, the other opens the case that contains your robe). In 'Sporty' mode, grab your robe - this will activate your magic ball.
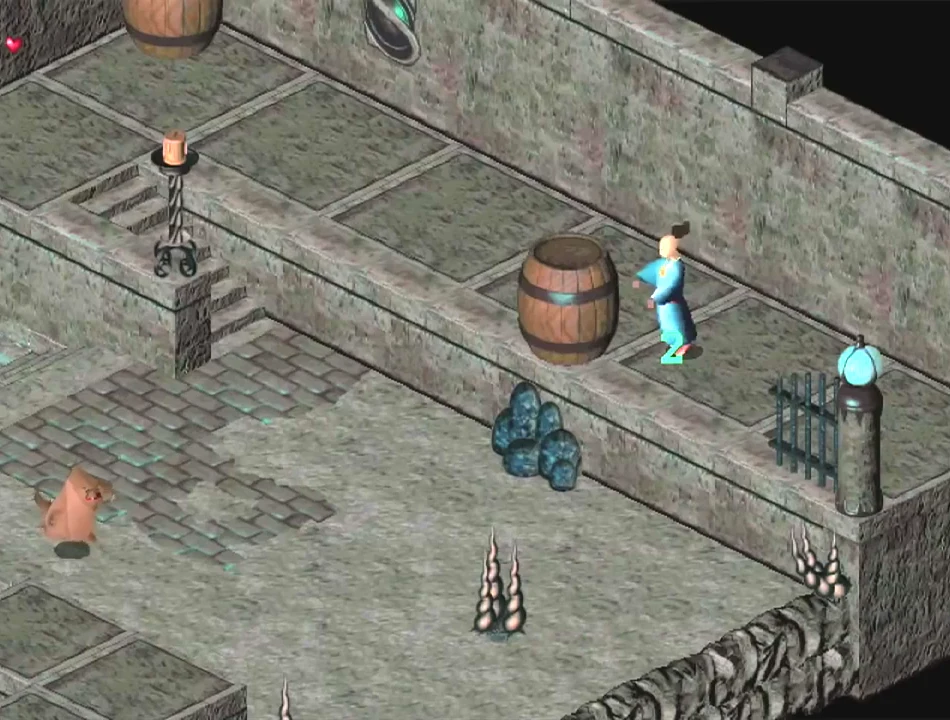
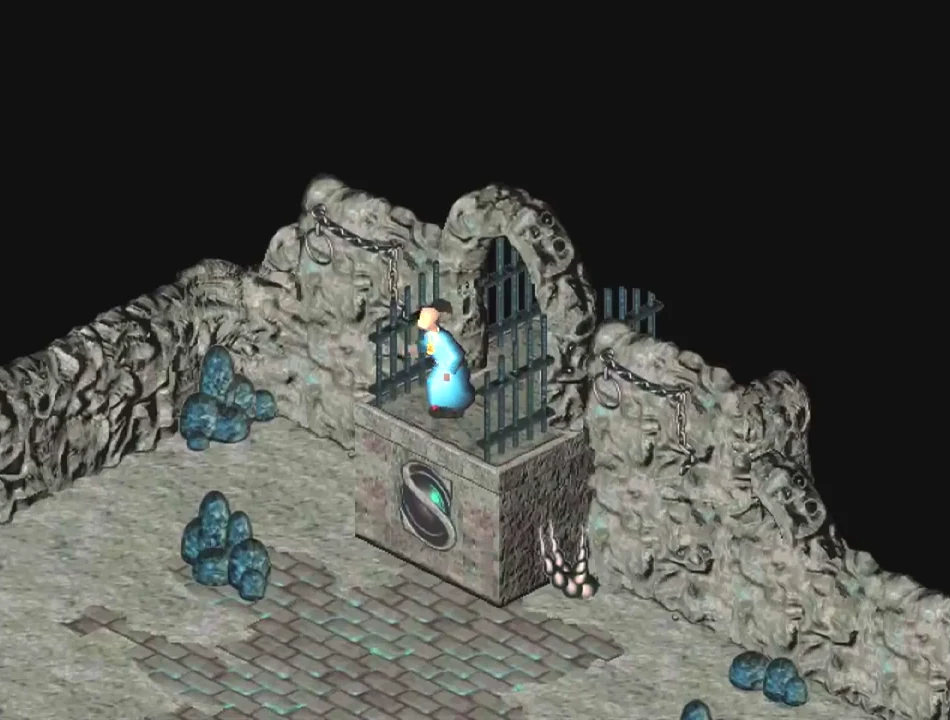
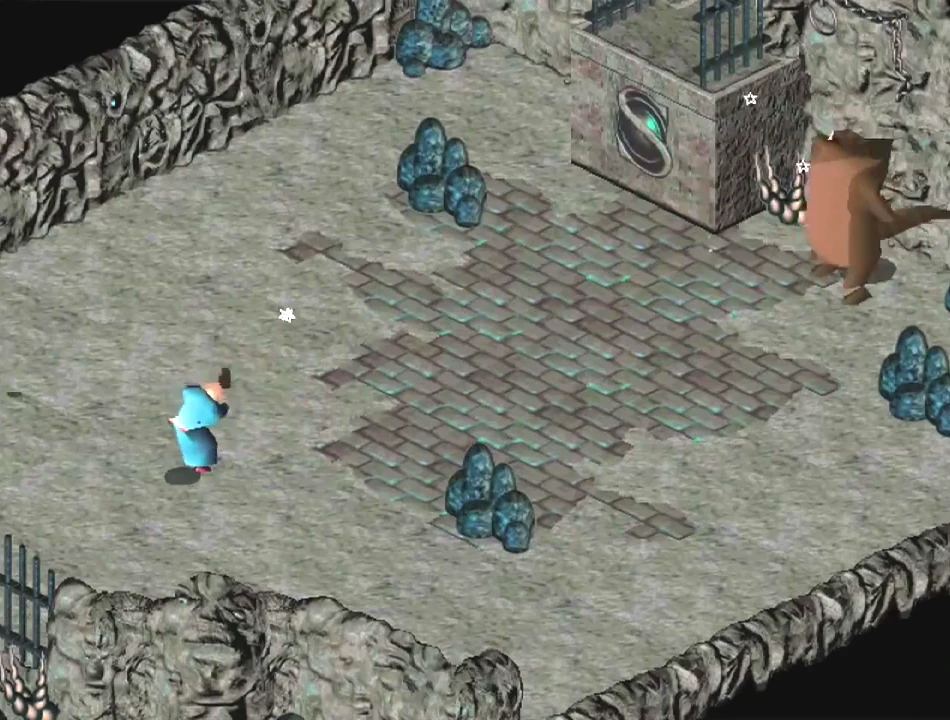
Head for the cliffs and the Corniche (towards the tip of the island where the weather wizard lives). Locate the cave which has a sign indicating a path leading towards the Corniche in front of it. Dispatch the monsters with the aid of your magic ball. Jump over the rock to reach the cave entrance - this is where Raph is held captive behind bars. To save him you'll have to take another longer route and, with the aid of the magic ball, open doors. Further on you'll come across a second switch; this is much easier to find and opens the second door, behind which you'll find Joe. You'll then be attacked by two small monsters. Take the key they're guarding as it opens the door - you'll then have to fight Tralu. Use your magic ball to defeat him and collect the key to free Raph.
As you're leaving you'll bump into Zoe and then the weather wizard. Follow him to the lighthouse where he'll disperse the storm.
After the encounter with the Esmers, buy a ticket from the travel agent and take the ferry to Desert Island. Stop at Mr Bazoo's shop, near the entrance to the port, to buy some Nitro-Meca-Penguins.
Chapter 2
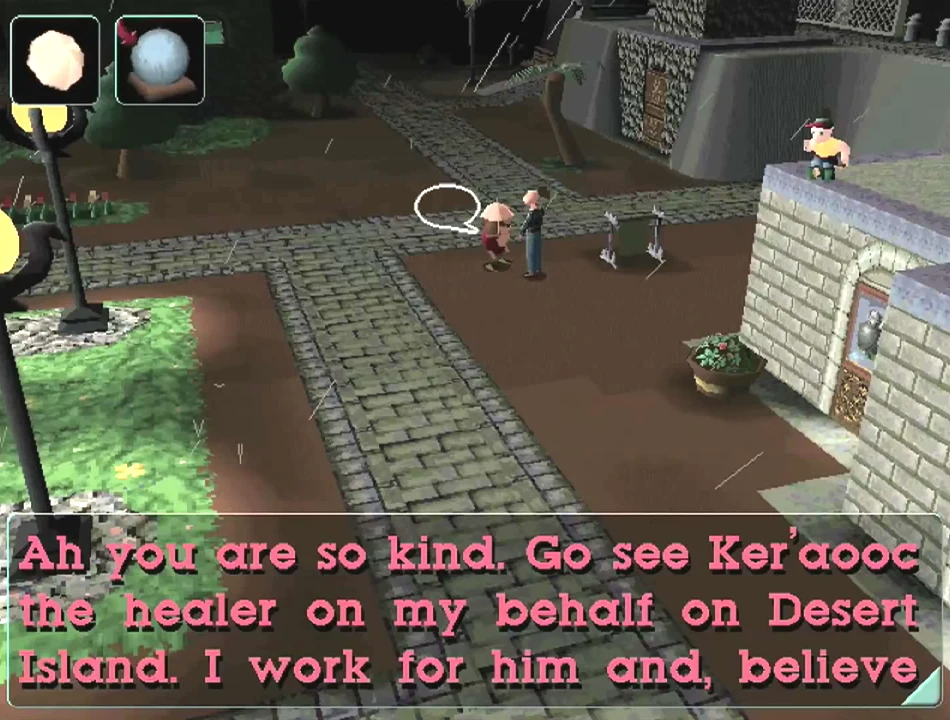
You'll find Ker'aooc, the healing wizard's house, on the corner of the main square. Take the gallic acid from the wizard's shelf. To find the School of Magic, go to the hacienda del Monte-Pelado on the other side of the island. Head for the women's bath - their screams will grab the landlord's attention and you'll be able to sneak behind the counter at the bar and climb the forbidden ladder. There you'll meet an old sage who'll tell you where the School of Magic is.
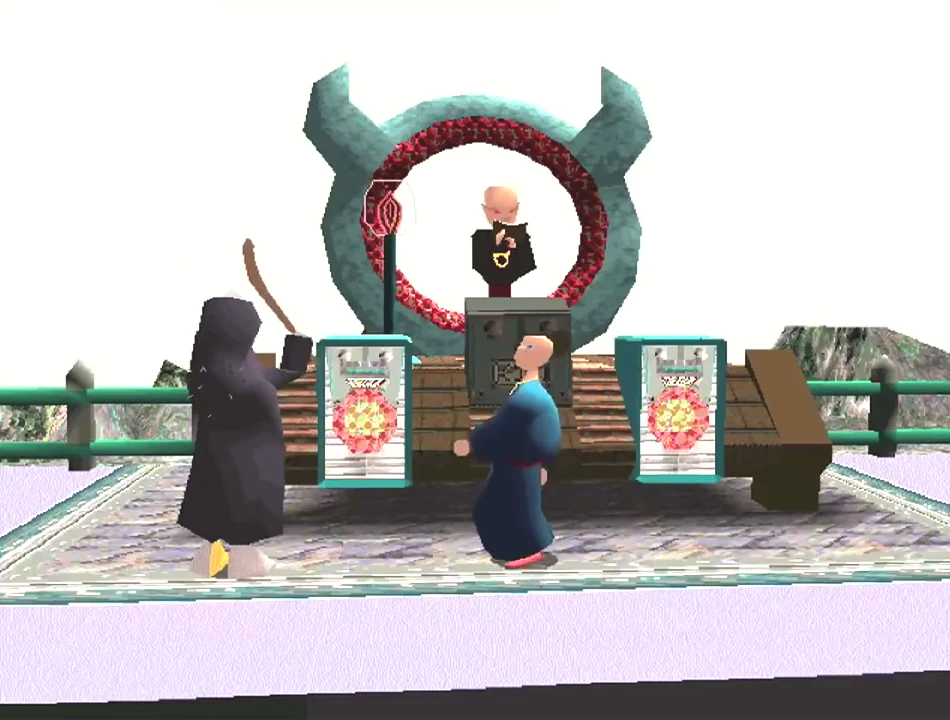
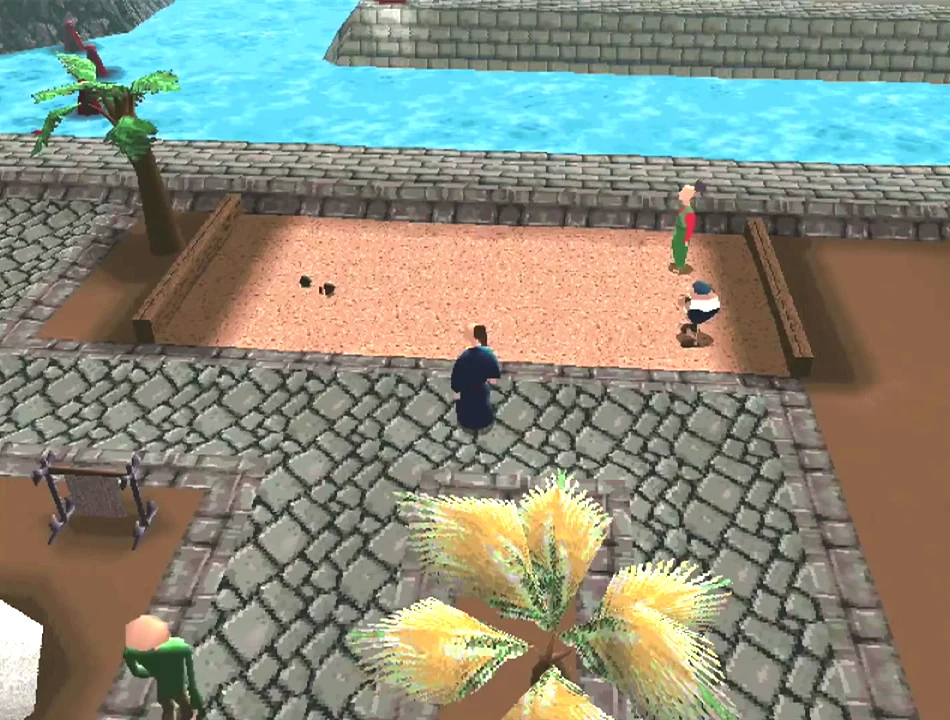
You'll need plenty of money, so go to the park at the Temple of Bu. Accept a test of skill in Tir 0 Canardo', and break both the targets using the darts. When the balloons carry you over the shaft entrance, fall in. The fortune you find in kashes will pay for your registration at the school.
Go along the cliff path on the left of the cemetery to find the School of Magic. Once inside, take the slightly raised path, bypassing a second gate to the main door of the school.
You'll have to run past a large room haunted by ghosts. In 'Discreet' mode, open the chest and take the key to the door. Further on in the school you'll need 120 kashes to register and you'll have to pass three tests to become a wizard.
For the blowpipe test, you'll need to concentrate on your timing to shoot down the moving targets. To get the balsam flower, go to Baldino's for the mechanical part to repair the car. Return to Citadel Island and take it to Zoe. Go back to Baldino's to pick up the portable radio -Zoe will call you when the car is ready. When Zoe arrives, get in the car and drive up to the springboard (look for the tyre tracks near the secret entrance to the school). Take the plant to the principal - he'll give you the conch of Triton to heal Dino-fly back on Citadel Island. When he's recovered, get him to take you to Dome Slate to tackle the third task, which involves a labyrinth. Walk along the left-hand border of the flagstones to get to the exit - this will light up under your feet. The principal will meet you outside and will reward you with the magic slate.
Back at the school, the principal will give you your diploma and your new magic level: green ball. You'll find the travelling salesman near the hacienda del Monte-Pelado where you'll have to buy ceremonial robes and a false beard.
Inside the hacienda an Esmer will make you an offer - follow him through the hacienda to a shuttle bound for the Esmers' home planet, Zeelich.
Chapter 3
Take the translating device from the ship's hold. After landing, follow the soldier and an ambassador. You'll end up in prison with your friend, Joe the sprite. When the guard activates the switch to open the cell door, quickly hit him. Another prisoner will direct you to the correct door if you release him. Using your magic ball, get rid of the walker robot and the fence blocking your way, then climb the control tower, take the route disc, insert it in the shuttle control panel and enjoy the ride back to Twinsun.
Chapter 4
After crash-landing, fight your way through the soldiers to get to Zoe. Next, get Dino-fly to take you to the School of Magic where you'll receive some useful advice. Go to Citadel Island to read the message left by the weather wizard and stop off at the left-luggage office where, with the help of a helico-magnet, you should be able to pick up the proto-pack from the storeroom. You shouldn't need any help from the worker, just push the box following the arrows.
Visit your next-door neighbour, who will need the gallic acid to restore the sewer map. This will reveal an important message and the neighbour will give you a pyramid key. Go back to Desert Island and visit the school principal, who will tell you where to find the pearl of incandescence. Go to the jetty past Port-Ludo pier where Moya the turtle will take you down to the underwater cave. Thanks to the proto-pack, you can enter the cave and take the pearl from inside a giant shell.
On the roof of the hacienda, look at the sea through the telescope and you'll see a cave on a small island. Get Dino-fly to take you there and, using the proto-pack, enter the cave. Stack the two boxes by the entrance to reach the protection spell - you won't be able to get out without it.
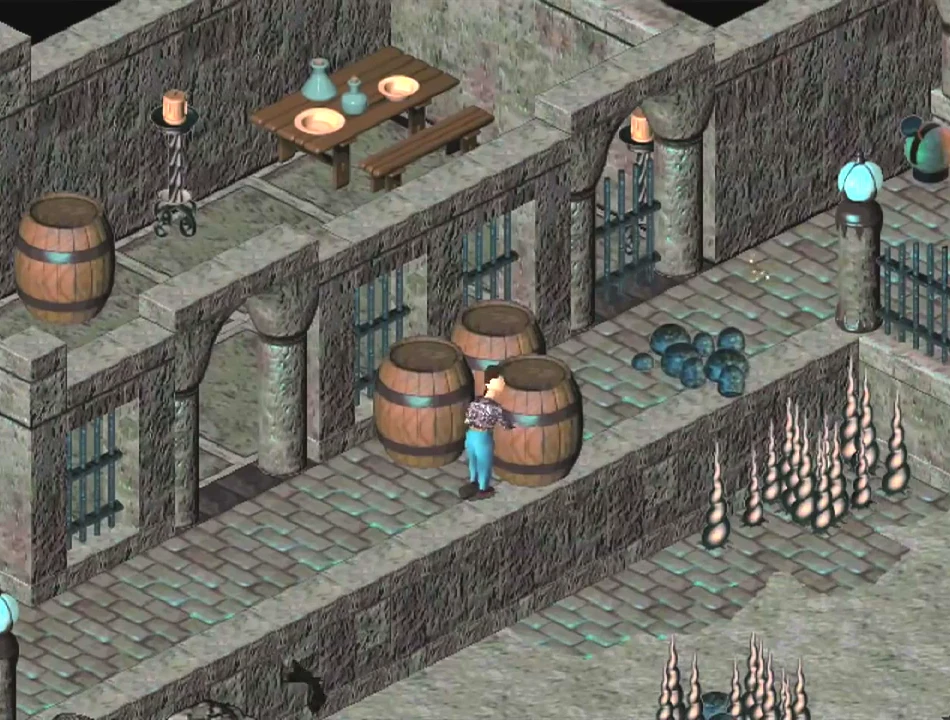
Head for Citadel Island and drop the pearl into the weather wizard's cauldron and take the lightning bolt spell. To enter the sewers, go to 'Chez Luc'. The key to the cellar door is in a barrel behind the bar. Jump in the hole among the barrels and, once through, use the pyramid key on the strange stone near the staircase to open a secret door. To free the ball of Sendell you'll need maximum magic levels to cast the lightning bolt spell. (Leap onto the floating barrels in the sewers - there's a key that opens a door, behind which is a chest containing magic phials.) Free the ball of Sendall to attain a new magic level: red ball. Well done grasshopper!
Baldino will call you to Desert Island. Enter the Temple of Bu and search the floors for the secret Esmer base. Divert the direction arrows with the blowpipe to move the wagon to the second level of the temple basement. There's a key in a box surrounded by two statues spitting fire - enter 'Discreet' mode to take it. In the base, kill all the soldiers. Take the small lift and use the proto-pack to fly over the electro-rug. Take the route disc and head for the Emerald moon. You'll need a password: GREEN MOON.
Chapter 5
After landing, slip on a space suit. Go to the reception building and activate the spherical-style switches to open the airlock. Go through the door furthest from the shuttle, remove your space suit and prepare to be attacked immediately. Turn the large metal wheel resting on the black-and-yellow striped plinth that opens the door with the same pattern on its frame. This will lead into a corridor ending in the cell which holds Baldino; get the key from the jailer using your magic ball. Another wheel will allow you to open the closed door. Catch up with Jerome, who's waiting in front of an airlock right at the end of the base by the Esmers' main computer. Open the door so that you and Baldino can escape. Baldino, equipped with his rocket suit, will take you to his ship and you'll set off for Zeelich to find CX Island.
Chapter 6
Use your proto-pack to move over the rocks to the port -here you'll come across some jet foil taxis skimming over gas. You'll have to go to the centre of town to find some Zeelichian currency. After the little bridge, on your left, is a shop selling souvenirs, and when you go in the shopkeeper will offer to buy various items you have for Zeelichian money. Rummage around some dustbins to find more Zlitos (you'll need 100). Return to the port, talk to 'The Captain' and he'll take you to Celebration Island. After valiantly defending yourself, climb to the top of the volcano. By the edge of the crater you'll find a fellow covered in bandages - he's the survivor the Captain has already told you about.
Take a taxi from Celebration Island to Otringal. At Rick's tavern, look for a door hidden behind the stage which leads into the back room and, once you're in, open the air vent by operating the nuts. Use the pasteboard pillars to build a platform so that you can reach the air vent. You'll soon find yourself in Rick's office - he'll give you a new mission, which is to find Johnny Rocket.
Baldino will call you for some gazogem, so take a taxi to Knarta Island and the burgomaster's house. Go to the refinery (you'll have to jump on some pipes to get over the wire fence). Once inside the enclosure, make your way into the main building. Learn how to stop or change vapour jets by turning the wheels that control them - do this before you get to the little red boxes containing the keys (you'll need them to get further into the refinery). At one point you'll have to crouch in 'Discreet' mode on a moving platform in order to get out in one piece. Eliminate the Knarta guard who hold access to the gazogem.
To leave the refinery enclosure, jump on some barrels (these are located near the place where you originally entered the refinery). On your return via the Knarta village you'll meet a mechanical owl. Follow it and you'll come to a little niche, inside which you'll find a passkey. Go back to the burgomaster's house and open the cupboard to find some cryptic directions. You'll also need to buy a pickaxe from the bazaar.
Lean against the palm tree (there's only one), turn in the direction of the bazaar and you'll see a small dip in the grass (almost at gas level) ahead of you on your right. Digging with the pickaxe will reveal the Knarta fragment. Take a taxi to Otringal and give the gazogem to Baldino. In exchange he'll transform your proto-pack into a super-jetpack which will allow you to jump higher.
Go to the casino in the town centre and play on the one-armed bandits. After a while you should win the superjackpot. In the room with the fantastic prize you will have to beat the Gloum with your magic ball in order to get the key it's holding - this key opens the door at the end of the room.
Using the super-jetpack, walk along the stream to the hotel - but you'll have to make the bellboy see sense before you can enter the lobby. Johnny Rocket will be by the pool on the sun bed. He'll take you to his room and give you a ring which you must show to the shopkeeper in the Twinsun souvenir shop as he'll then open a secret passage leading to the rebel chiefs. They will equip you with a laser pistol, which needs a crystal to work - you'll find it on Celebration Island. Use your super-jetpack to jump from rock to rock around the crater, and then use the Knarta pickaxe to cut the crystal to the right size. Go to Knarta Island and into the building facing the industrial port. Use the laser pistol to activate the levers that open the doors. Go into the port and climb onto the small tanker leading to the platform that connects to the gas underworld. Kill the mercenary and take the lift down.
Chapter 7
Use your magic ball in 'Discreet' mode to activate the switch at the end of the room. Follow the path to the village. Kissing the toad will allow you to regain some strength. Go and see a family who will give you some firefly tart - take an extra piece for the old rogue in the centre of town, who will then give you the key to the chapel. Go inside and Mr Lemoine will tell you that his servant will teach you the ferryman song. You'll also need four gems and the miner's glove, all of which can be found in the gemstone mine by the cliff path. There's a tunnel entrance on the path that'll take you near the Blafards' fragment. You'll also need the protection spell to avoid injury. Leaving the mine, head for the ferryman's calling place and hum the song. Pay the ferryman to take you across the melting sea to the Mosquibees' village. Ask the guard to take you to see the Queen and show her Johnny's ring. To pass the test, use the magic ball to break the rolling balls and inside them you'll find a key to the correct door. Open the door and you'll find the sarbatron (which is a blowpipe).
Follow the soldiers into battle and leave the cocoon via an opening leading to a path running along the top of the cliffs. Follow it until you find yourself opposite a footbridge. On the other side, up a rocky peak, is the Mosquibees' fragment inside a locked chest. The monster that protects it will launch fireballs that you can throw back at him using the Blafards' glove. Now that you have the new fragment, retrace your steps and collect gems along the way. Cross the cocoon and you'll find another exit which leads to the beach where you arrived. Go to the rocks in the direction of the ferryman's calling point - call out for him because you'll need to go to Volcano Island.
Avoiding the lava flow and fire geysers, go to the spot at the foot of the rocky peak supporting the Celebration Volcano above gas floods. You'll find a small cave, and the Mosquibee refugees you meet there will tell you where the Queen is being held on Blafard Island. Returning there, you'll meet a wounded Blafard, a few metres from the ferryman's kiosk, on a rock near the lava. Cure him with the aid of the conch of Triton. Go to the mine and the moving walkways just inside the entrance.
Climbing onto some vertical conveyors will bring you to a room where boxes are being moved. Kill the controller and hide in one of the boxes. On the other side, jump out of the box onto a ladder. Having reached the roof, you'll see a 'pipe' across the ground. Get into it and slide through it as far the Queen's cell. Once there, she'll give you the key to open the secret passage leading to CX Island. Go back to the Mosquibees' village and climb the rope to the cocoon. Behind the throne you'll find the famous passage. Use the key on the throne and continue onwards.
Chapter 8
The exit leads directly onto CX Island at the corner of a gangway. After dispensing with some guards, try one of the two doors and enter a gas-filled room. Use your superjetpack to cross it, watching out for monsters coming out from the gas. Another gangway leads to the shuttle launch area. From there, go to the central tower, turn right into another room and grab the key in the red box (it's behind a guard who keeps firing at you). Kill him and jump the wall. From the locked room take a lift down to the control centre where you'll find the Emperor.
Before you kill him, the Emperor will manage to activate the lunar reactor. Take the Emperor's sabre from the chest and take the lift back up. Get past the hussars who guard the control tower door, and once you're inside take the route disc. Leave the control tower, board the Emperor's personal shuttle and head for Otringal.
Chapter 9
Eliminate the hussars guarding the entrance to the palace and slip inside. The route to the Sup's fragment is a labyrinth protected by soldiers, fishbulls, hussars and mercenaries. Using the Emperor's sabre, kill a Streum to get to the fragment's chest. Behind the chest, throw your magic ball in 'Discreet' mode through the stained glass window. It'll break, and you'll discover a secret passage that leads outside. Leave the palace with the four Zeelichian fragments and head for Celebration Island.
Chapter 10
At the volcano summit, inside a little temple by the edge of the crater, insert the four fragments that together make up the sacred key. Inside the crater a gigantic statue of Dark Monk will rise from the lava and come to rest in front of the little temple. Dark Monk will be standing on the great book of names.
Then you'll catch sight of the evil FunFrock - chase him when he disappears inside the statue and climb from pillar to pillar to reach the statue's arms. Enter the stone body - that's where the wizards are. Turn the screens on in the correct order: second, first, fourth and third. You can then unlock the cages after pressing the final opening switch.
The wizards will have to fetch Baldino while you go to the next floor to confront FunFrock. With the help of the Nitro-Meca-Penguins, destroy FunFrock's grobo clones (some of them are easily recognisable by their torpedo launchers). The keys will allow you to go down the levels to the statue's feet where you'll finally face FunFrock. The cage full of children will fall into the lava - you won't be able to prevent it. Destroy FunFrock once and for all and then walk cautiously to the crater's edge and wait for the fun to begin...
Download Little Big Adventure 2
System requirements:
- PC compatible
- Operating systems: Windows 10/Windows 8/Windows 7/2000/Vista/WinXP
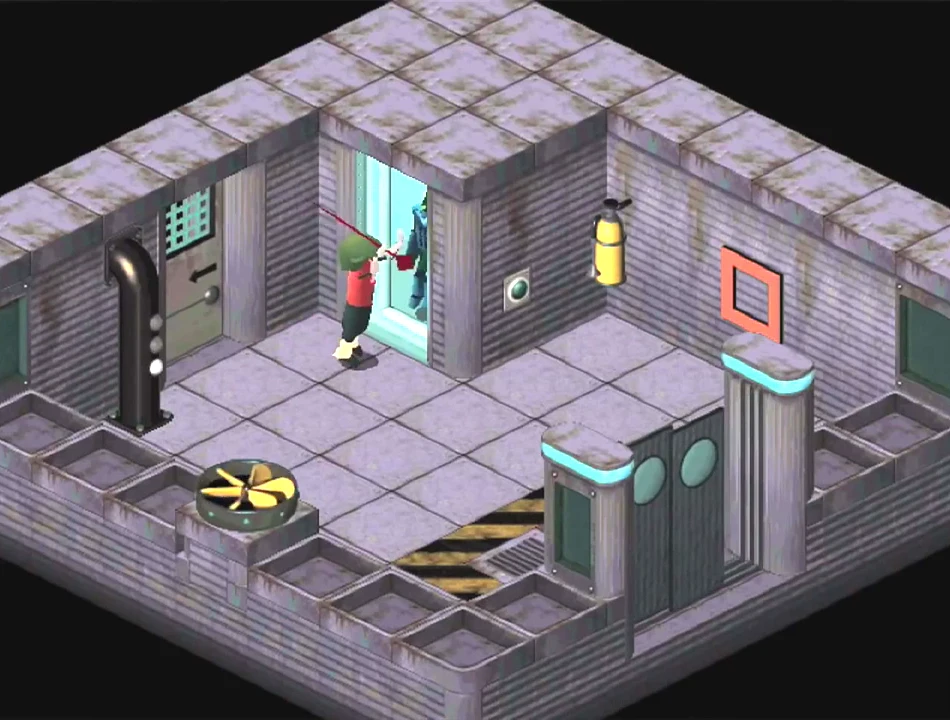
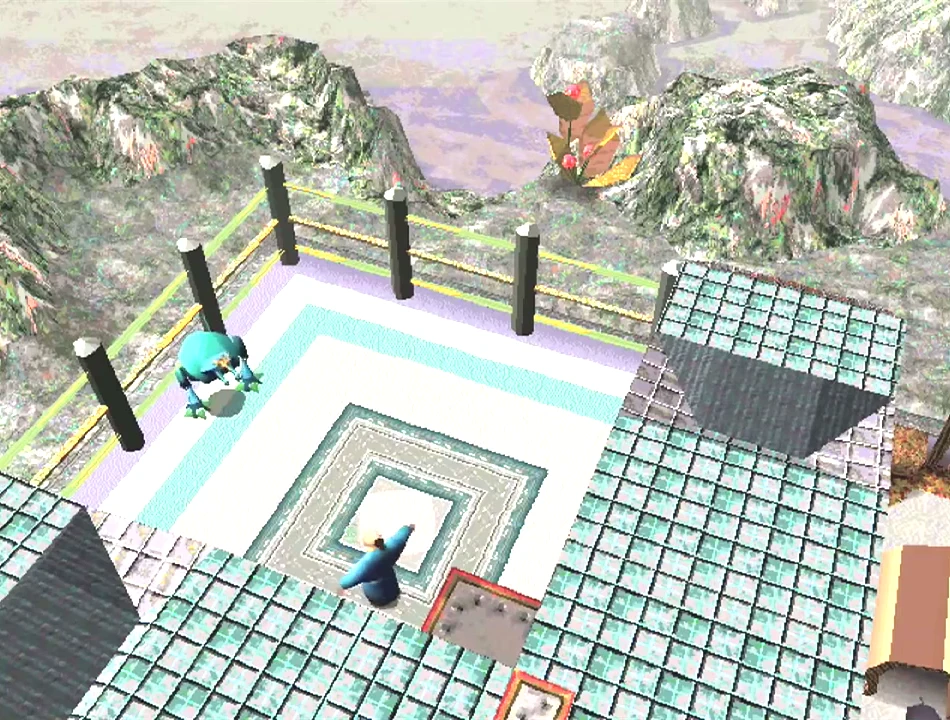
Snapshots and Media
PC Screenshots

Similar Games
 Alf
Alf Arkista's Ring
 Blade Of Darkness
 Ex-Mutants
 Ghouls And Ghosts
 Monkey Hero
 Project Paradise
 Quattro Adventure
 Real Neverending Story
 Shadoworlds
 Grand Theft Auto 3
 NARUTO X BORUTO Ultimate Ninja STORM CONNECTIONS
 God of War: Ascension
 Uncharted 2: Among Thieves
 Ben 10 Ultimate Alien: Cosmic Destruction
 GTA Amritsar
 Asura's Wrath
 Urban Reign
 Deadstorm Pirates
 RaOne The Game
 Sengoku Basara 4: Sumeragi
 The Amazing Spider-Man 2