Aliens: A Comic Book Adventure

| a game by | Cryo Interactive |
| Platform: | PC (1995) |
| User Rating: | 8.0/10 - 2 votes |
| Rate this game: | |
| Updated: | May 5, 2026 |
| See also: | Action Games, Action Adventure Games, Puzzle Games, Sci-Fi RPG, Alien Games |

Frightening! Mindnumbing! Horrifying! Nothing can prepare you for this game's unwieldy user interface and torturous gameplay - and if that's not bad enough, there are puzzles to solve as well. Don't despair if you've ended up in a terrifying mess, 'cos our team of hard-assed space marines are here to get you out.
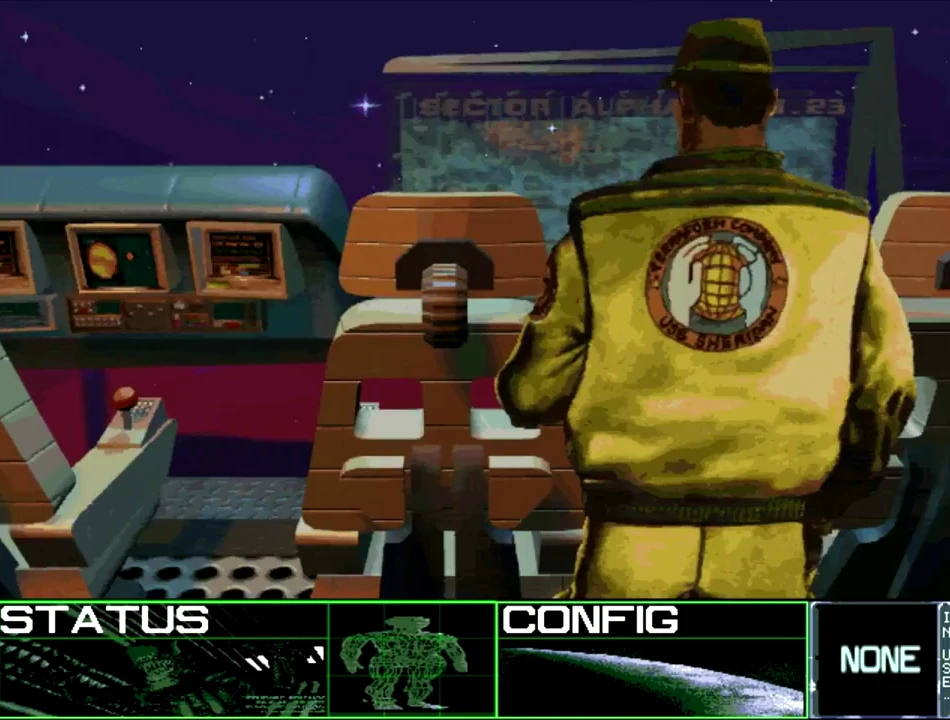
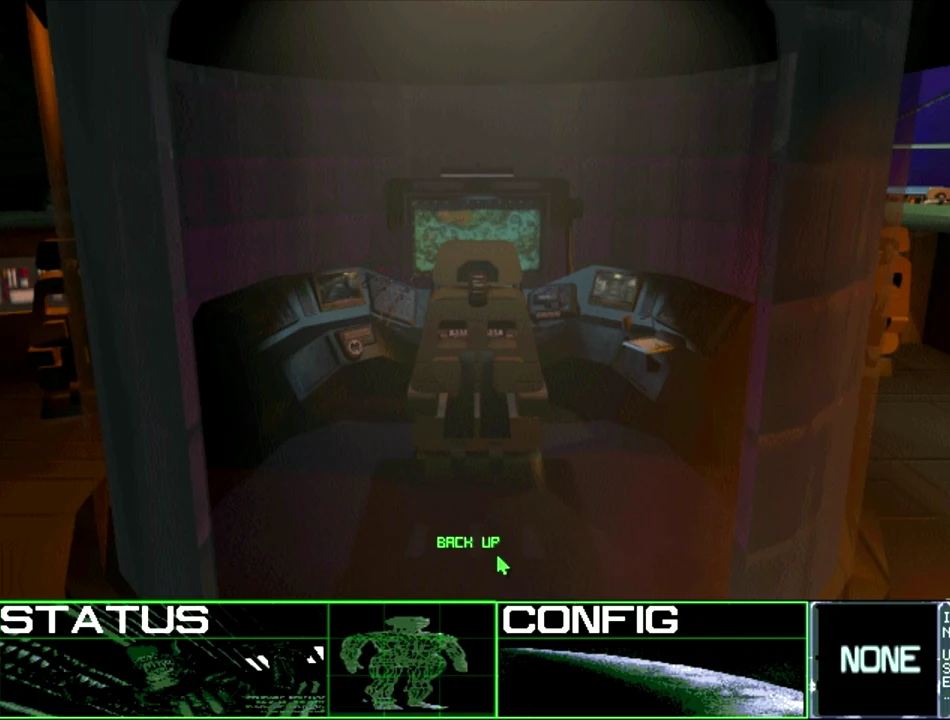
Landing the ship
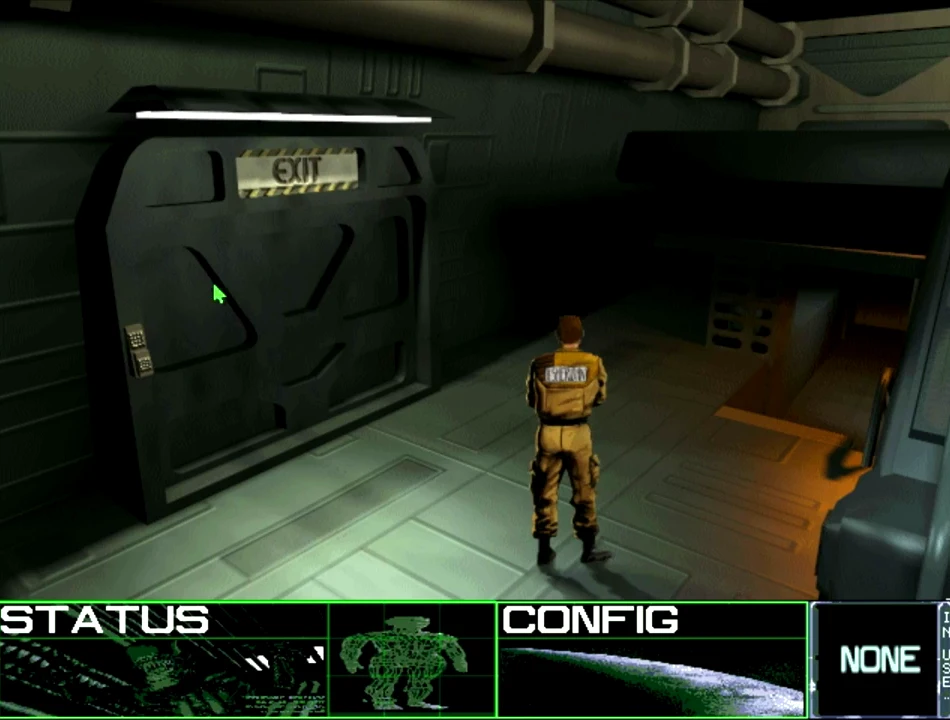
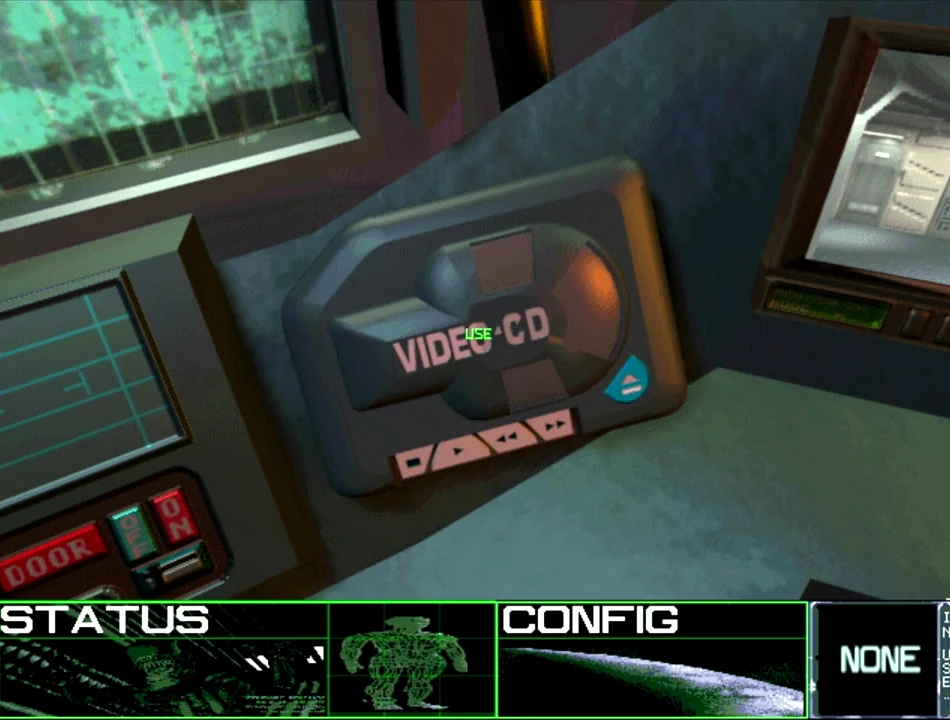
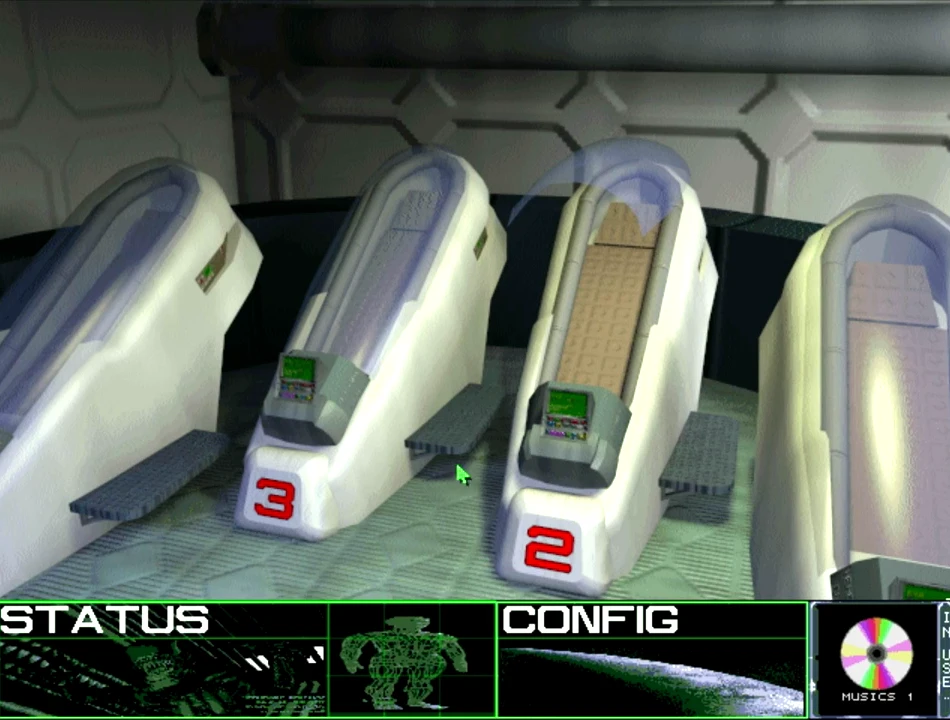
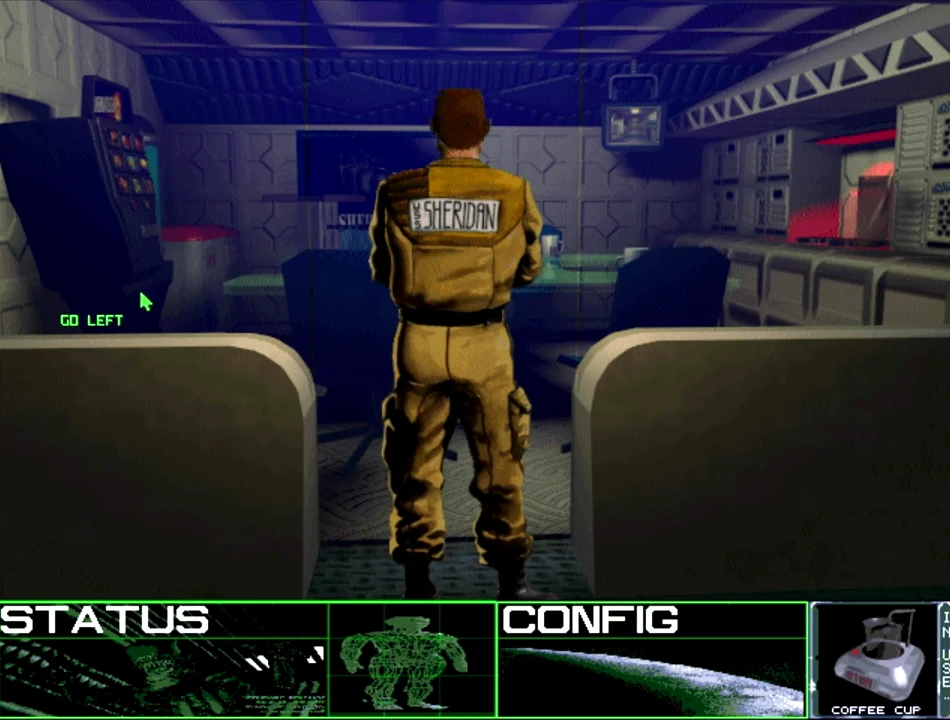
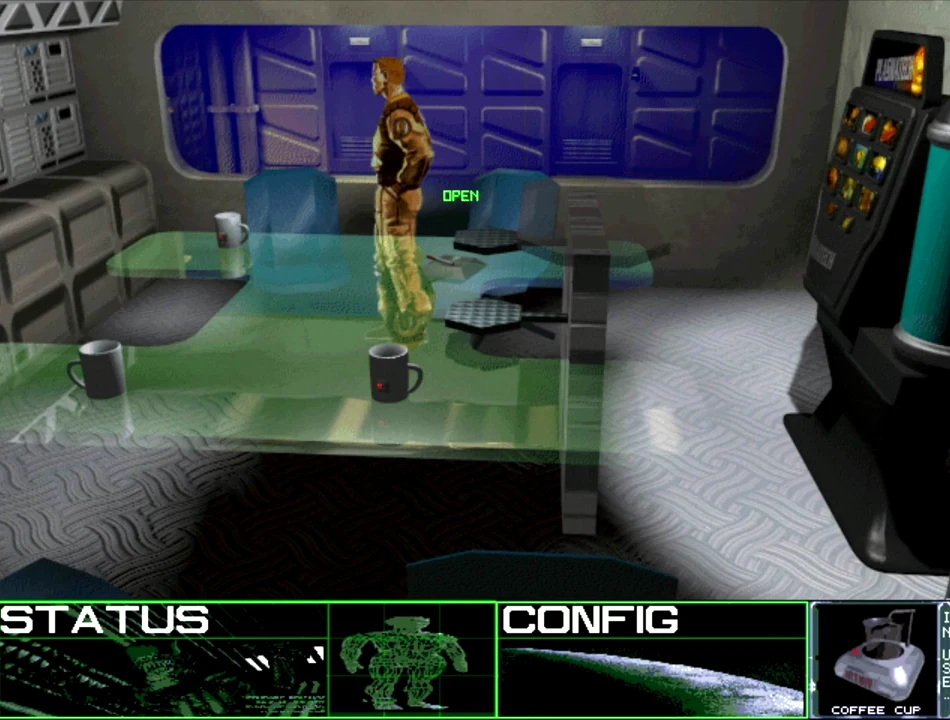
Go down the stairs, speak with Williams and ask him if he needs anything. Go back upstairs, then go down to the computer room. Go inside and 'look' at the Video CD. Find and 'use' the red button at the bottom-left of the screen. Go back upstairs and open the large exit door. Once inside, turn right and enter the crew's quarters on the right. Take the raw cd, the yellow security pass and the keyboard from the cabins.
Talk to Lora using the fifth option, then reply with the first option. Lora will now give you the green security pass. Select the raw cd then return to the computer room. Select the planet information option. Select landing coordinates. When prompted use the Video CD player. Go and 'talk' to the Captain to land on the planet.
The base
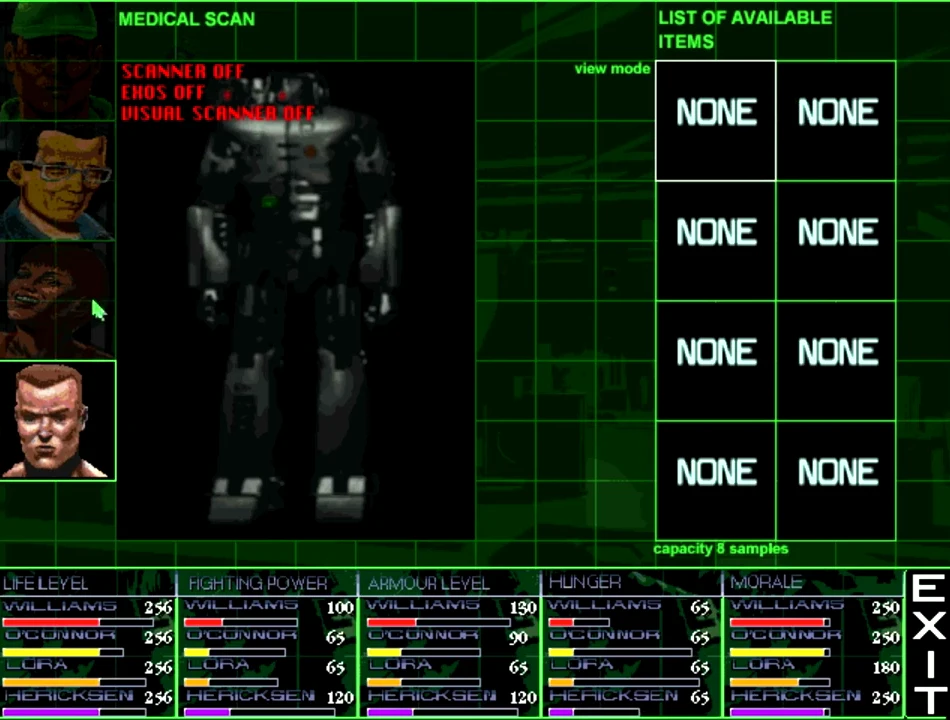
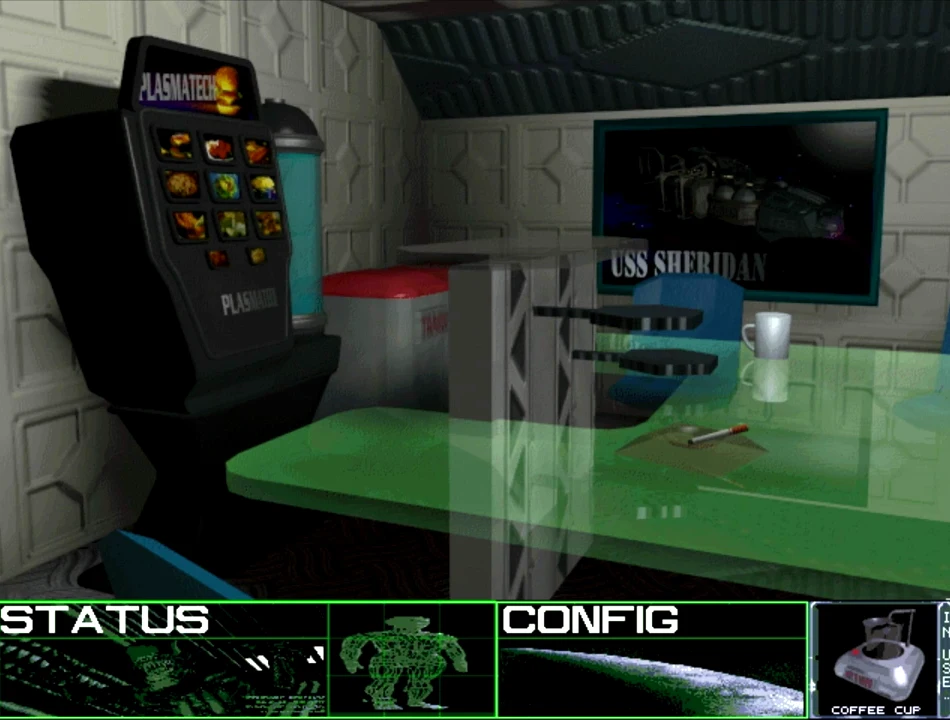
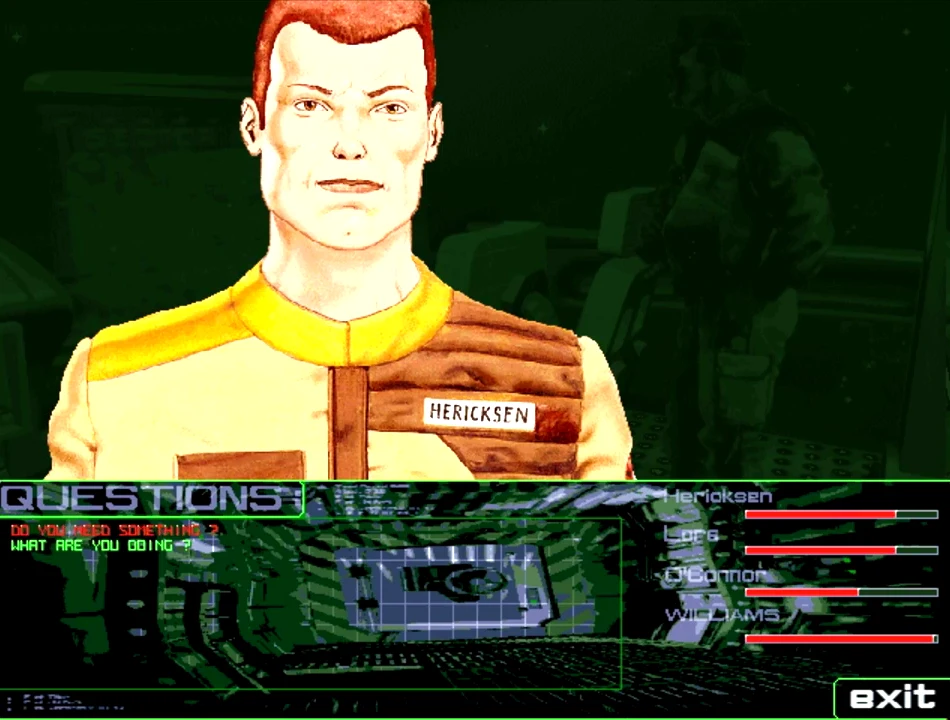
Use the green pass to the elevator hear Lora's cabin. In the lower level move to the control console in the middle of the ; room and operate the switch to lift a weapons crate. Follow the crate and use the controls to extract a laser gun. Go to the canteen and use the food dispenser to feed the crew. Return to the loading bay, move to the central console, then select the 'change view' option at the top of the screen to see the exit door. At this point all members of the team will join you and begin to suit up. Make sure that you have your laser gun selected.
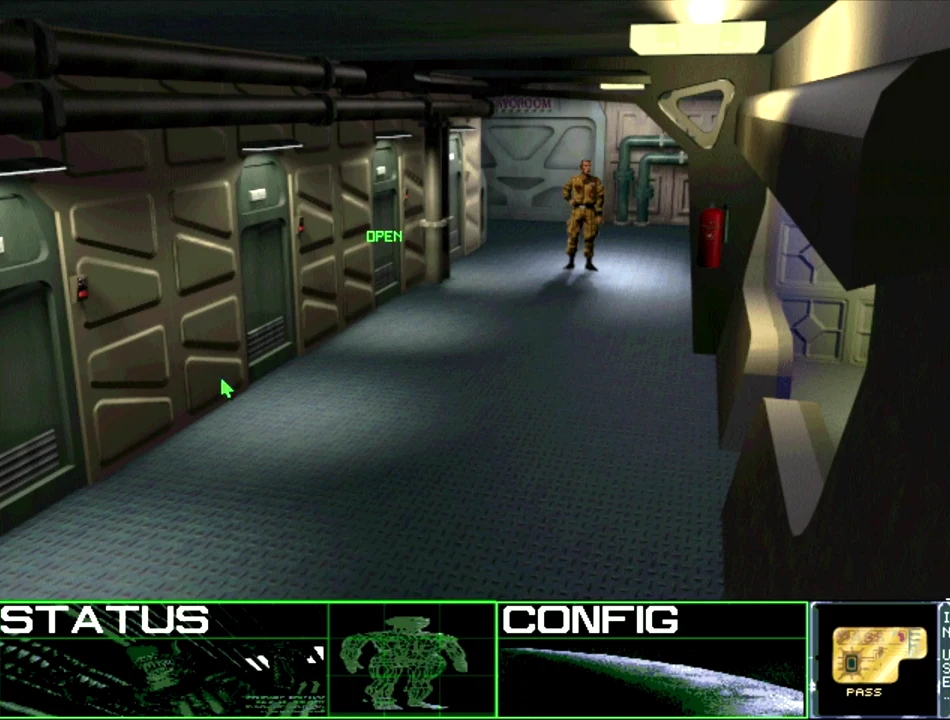
Once in the tunnel beyond you'll have a small piece of action followed by a short word from a dying member of the base (the short word being "Aaaaaaargh!"). Once inside the base go to the far right and open the large door. Move to the right of the room to find a elevator door with a red switch. 'Use' the switch and go upstairs. Climb the stairs to find a locker with a spin handle on the front which you will not be able to open. Go back down the stairs and you will come across a glass-sided cubicle in the middle of the room. Open the cubicle and inside you will find Robby the robot. Pick up the robot. On a chair in this room lies a red security pass, so pick it up before leaving. Return to the large entry room of the base. Opposite the brightly lit staircase in the middle of the room is a dark staircase. Go up the stairs, turn right and you will see lots of chains hanging from the ceiling. Behind the chains is a computer panel with a network connection above it. With Robby selected in your hand, 'use' the network connection; Robby will now be plugged into the central computer, and a bit of the mystery will be revealed.
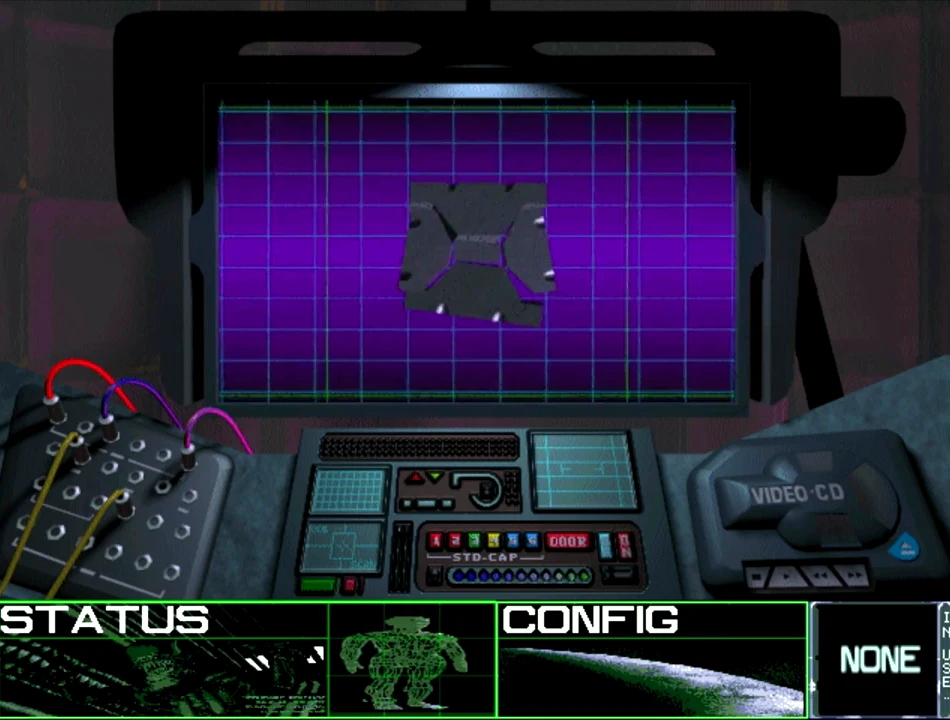
Return to the area where Robby was found and again try to open the closet that you failed to open before. Robby will now step forward and do the job for you. Inside you can pick up a piece of an x scanner, plus a map. Drag the map onto a face to see its contents; note the code number 154324321. Turn around and face the boarding room. Search the centre of the room with the mouse and you will find a 'use' hot spot. Click on this spot to illuminate a red switch.
Use the elevator to go downstairs to the vehicle bay and look at the vehicle on the left to find a second piece of the x scanner lying on the bodywork. Operate the red switch on the back wall of the bay to lower a vehicle on the ramp. Find a third piece of the x scanner inside.
Leave the vehicle bay and go immediately to the darkened area on the left of the large entrance room. First ensure that Herickson has the gun selected, then switch to Williams. You will now be able to pick up a metal bar at the bottom of the screen. As soon as you do. three robots will appear and battle commences.
Climb the brightly lit stairway opposite and move right. Use Williams (with the metal bar selected) to turn the wheel on the fuel tanks. Use the keypad on the computer at the top of the stairs, then turn around and go to the door that has now opened at the far side of the room. Get the hand from the body. Return to the vehicle bay and use the handle on the far wall to start the fuel pump. Use the fuel cap on the right hand vehicle to fuel it.
Go to the left wall of the bay to find a second 'open' elevator. Take this to a platform above and then, with the red pass selected, you can open the door at the far end. At the end of the passage is the door to SAS 6 (map room). Look underneath the console containing the spinning globe to find the fourth and final piece of the x scanner. On the floor beside the door are a number of mines that you can use when you encounter our scaly chums.
Leave and follow the corridors to door SAS 11. In the corridor beyond are four rooms. In the room containing a bed there is a code panel on the wall. Using the switches enter the code found on the map (ie A=l. B=2 etc). The wall compartment will open and allow you to take a microchip and a grey pass. Select the microchip then use the computer panel on the opposite wall to view Chipster's diary. Continue to the end of this corridor and leave via door SAS 13. Go through the next hatch and then, if you have the x scanner selected, you will be able to find and open the secret floor elevator that will take you down to the room containing the eggs and facehuggers. Assuming you manage to defend yourself from these over enthusiastic French kissers, you'll be able to arm yourself with additional weaponry.
Through the force field
Return to door SAS 7. Use the hand to switch off the force field. At the far side of the field turn right. In the room beyond use the grey pass in the wall slot. 'Click' on the picture on the right to switch on the lights. Look around at the egg chamber and you'll be able to pick up egg slime - but do this immediately or you'll be killed.
Use the grey pass again to switch off the lights and get a computer printout. Go to the stairwell to the left of the forcefleld, and halfway down the stairs enter the giant egg room. Now find the mapper device and a piece of the protector. The mapper will show you the layout of the maze inside the giant egg. Leave and go to the bottom of the stairs to pick up the hook on a rope. Return to the ground level and go forward of the force field, then turn right to the egg lab. Find more pieces of the protector and learn the formulae for Benoxidil (which destroys acid) and Benfortine (a food substitute). Exit right to Church's office. The wall panel opens the door to the alien lab. Open the tanks to access the facehuggers. Use the keypad on the object located in the middle of the room and insert
Return to the giant egg room and use the alien on the top of the egg. Use the hook on the egg to gain entrance. Use the facehugger. Once inside the maze you'll have to find and destroy the alien queen. In the centre of the maze you will find Church who will take you to the alien bay, where there are lots of scaly beasts for you to dispose of.
Here is one route through the maze: FFLFFFRRFLFFLFRFLRFRF.
At this point Church will be just a bit unkind by running off and stealing your ship, leaving you in deep alien guano. There is a security pass here which opens the cadaver room back upstairs. In this room are more bodies and yet another hand (Vaskal's) which must be severed. It is Vaskal's hand that will power-up the vehicle back in the vehicle bay and allow you to drive outside the base. Using the vehicle you may now travel to where the hospital ship is waiting, but just when things are looking good you'll have one last fight on your hands. This time your enemy is the military under the command of Fredricks. Defeat them and you will save mankind, claim the hand of lovely Lora, and win a poster of Sigourney Weaver in that tight T-shirt.
And finally...
It's not imperative that you build the protector device, but if you do you'll find that combat becomes a whole lot easier. There are six pieces to be found: one in the freezer, four in and around the research lab (one is in the vent), while the last is on the lower level of the giant egg room.
You can also 'use' the reversi console on the network connection where you connected the robot. Connecting the console will destroy the virus which is in the machine. Now when you play the game, and then immediately end it, you'll find that you're able to read data from the space network which helps explain the political mess that caused all the problems. It's all non-essential but hell, you might as well see it all.
Game over man!
Download Aliens: A Comic Book Adventure
System requirements:
- PC compatible
- Operating systems: Windows 10/Windows 8/Windows 7/2000/Vista/WinXP
Snapshots and Media
PC Screenshots


Similar Games
 Blade Of Darkness
 Little Big Adventure 2
 Project Paradise
 Space Hulk: Vengeance of the Blood Angels
 The Feeble Files
 Grand Theft Auto 3
 NARUTO X BORUTO Ultimate Ninja STORM CONNECTIONS
 God of War: Ascension
 Uncharted 2: Among Thieves
 Ben 10 Ultimate Alien: Cosmic Destruction
 GTA Amritsar
 Asura's Wrath
 Urban Reign
 Deadstorm Pirates
 RaOne The Game
 Sengoku Basara 4: Sumeragi
 The Amazing Spider-Man 2