Shining Force 2
| a game by | Camelot Software Planning, and Climax |
| Genre: | Adventure/RPG |
| Platforms: |
|
| Editor Rating: | 8/10, based on 5 reviews |
| User Rating: | 9.6/10 - 5 votes |
| Rate this game: | |
| Updated: | Jan 10, 2025 |
| See also: | Old School Games, Monsters Games, Shining Force Games |

Another day in the dungeons and this one is a little drearier than the rest. Shining Force II gathers the team where the first Shining Force left off, and not much has changed since then. In this case, RPG is starting to stand for Routinely Played Game.
Not So Shining
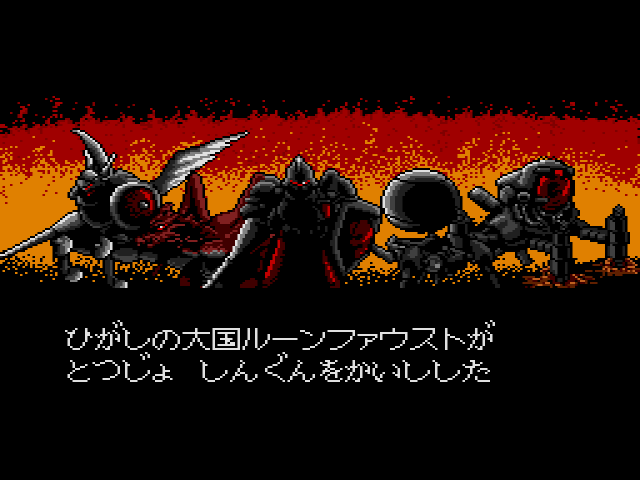
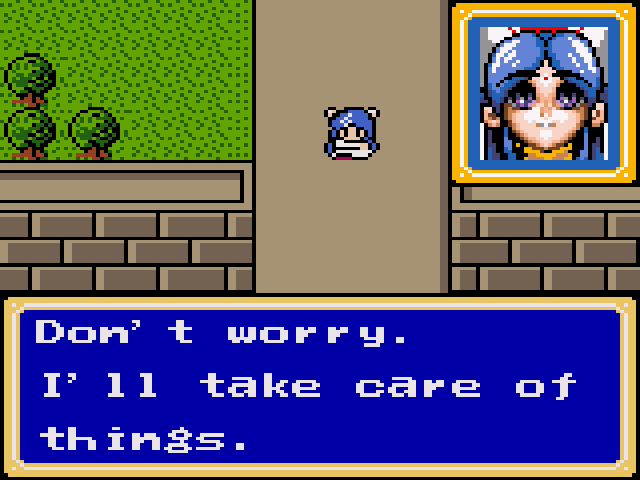
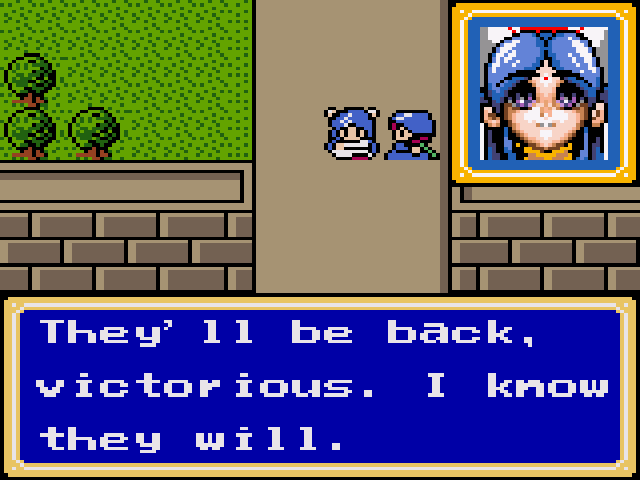
The citizens of Granseal have been preparing for something that smells like war, looks like war, but isn't really war; it's just some monster unrest on the outskirts of town. Nevertheless, you and your buds decide to investigate, and with the help of your teacher, Astral the Wizard, you're on the road to fame and glory.

ProTips:
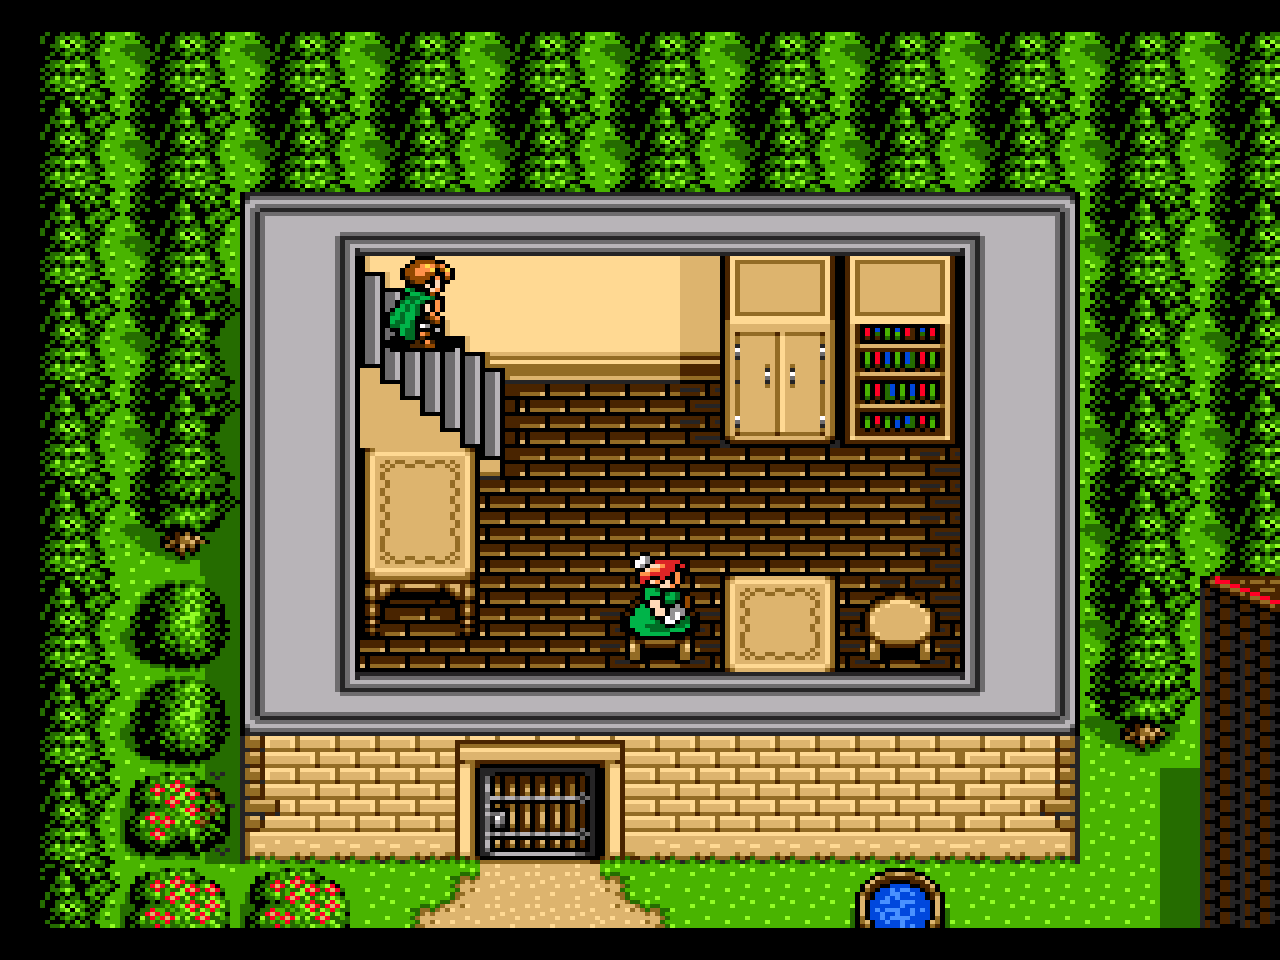
- Reading the titles in the bookshelves will sometimes uncover clues... and sometimes they're just meant to be funny.
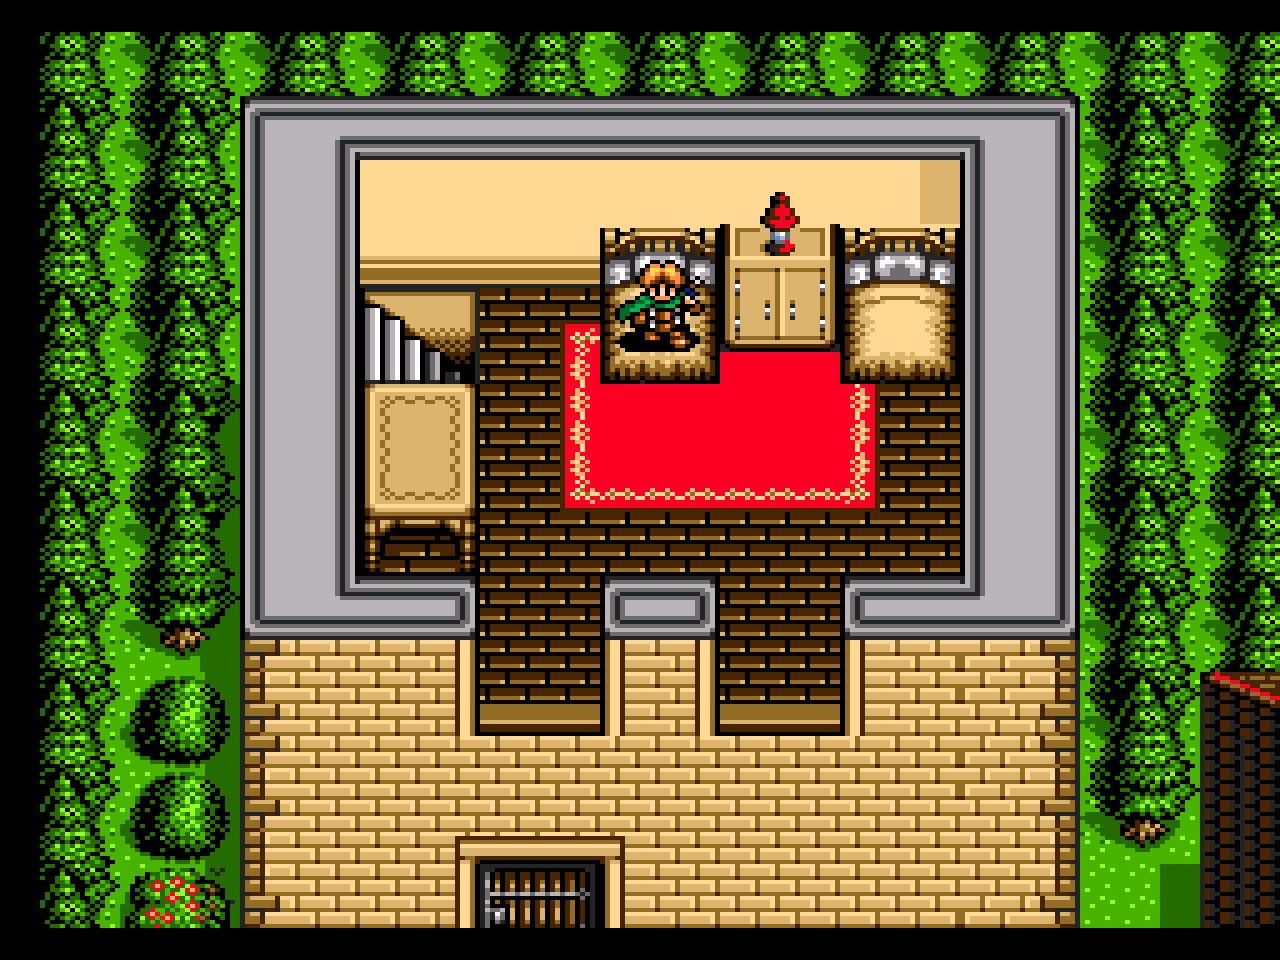
- Before leaving the castle, check this storeroom in the lower left portion of the castle for supplies.
- Search everywhere and taste everything.
You begin under inconspicuous circumstances, just chumming around with your centaur friend and a female priest, when the king falls ill and you rush off to help. From there, it's your standard monster bash with things that slither, crawl, bite, and fly.
You start off at a low level and build up your characteristics through battle. The battle in this RPG is hex based, meaning that you're only allowed a certain number of moves before the enemies close in. This annoying holdover from the pen-and-paper RPGs may seem fair to some, but it's slow and cumbersome work for action-oriented videogame players.
Sometimes the only way to gain access to a room or upper floor is by asking around or talking to someone.
Bright Lights, Big Deal
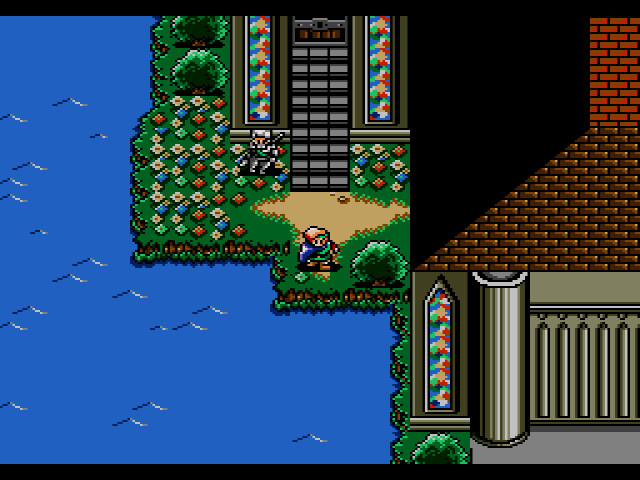
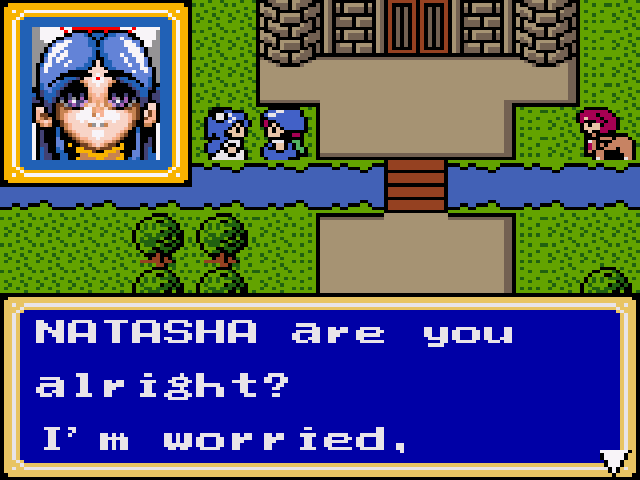
The graphics are divided between a fairly clear overhead view and an awesome 3/4-overhead battle view. The monsters and action in the 3/4 view look good and move smoothly, but you have precious little time to enjoy the graphics before you're laid out in ye olde coroner's office.

The music is peppy, upbeat... and totally out of place. If you think you should hear sword-slinging sounds in a heated battle, then look (and listen) elsewhere.
You control characters using a standard menu-driven RPG interface. The menus sometimes confuse you with their lightning-fast appearances, and generally there are too many menus and too few battle options.
A Shine a Dozen
This RPG is way too familiar. The cuteness and elvishness of this game will really annoy you after a while, and that's not the half of it. The game progresses at a pace that would slow the Road Runner down. If you're looking for something special in the Genesis RPG arena, don't use the Force, Luke.
Download Shining Force 2
System requirements:
- PC compatible
- Operating systems: Windows 10/Windows 8/Windows 7/2000/Vista/WinXP
- Game modes: Single game mode
Player controls:
- Up, Down, Left, Right - Arrow keys
- Start - Enter (Pause, Menu select, Skip intro, Inventory)
- "A" Gamepad button - Ctrl (usually Jump or Change weapon)
- "B" button - Space (Jump, Fire, Menu select)
- "C" button - Left Shift (Item select)
Use the F12 key to toggle mouse capture / release when using the mouse as a controller.
System requirements:
- PC compatible
- Operating systems: Windows 10/Windows 8/Windows 7/2000/Vista/WinXP
Game Reviews
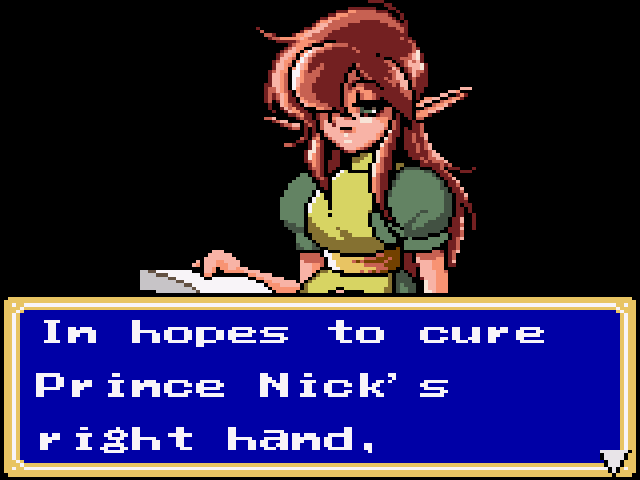
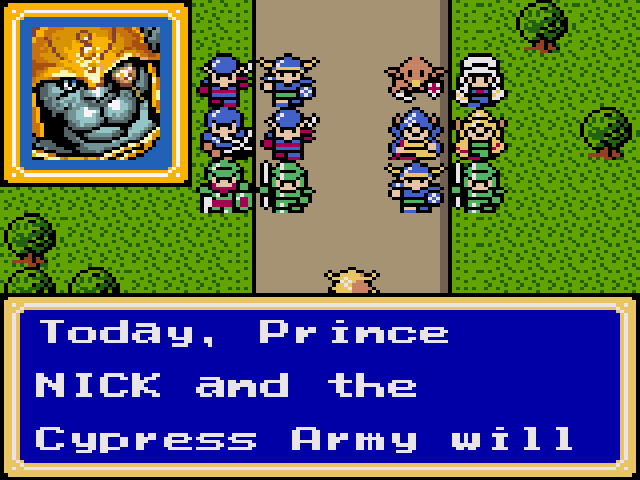
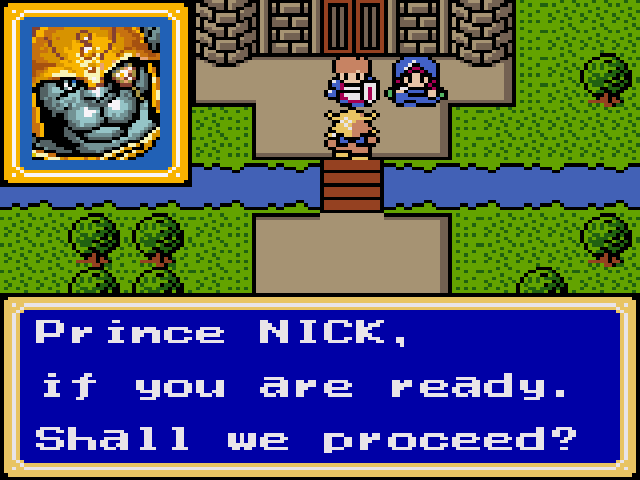
Game Gear role-players listen up! You've heard about the successful. Shining Force series on the Genesis before, but because you didn't have one you probably thought, "I can beat one of those games in a day." Well guys, your list of excuses has just ended because the Force is back in Shining Force 2: The Sword of Hajya. This time around our unconscious hero, brought to the town of Cypress, helps in their struggles to bring peace back to land against the evil forces of lorn. SF2 (You know which one!) is a great mix of strategy and role-playing action.
- Manufacturer: SEGA
- # of players: 1
- Difficulty: MODERATE
- Machine: Genesis.
- Manufacturer: Sega of America.
There are more puns, neat weapons and hidden rooms to discover than before. Battle scenes still seem a bit repetitive, but, on the whole, this is a gem.
- Machine: Genesis;
- Manufacturer: Sega of America; Sega of Japan
Finding it hard to get going in Sega's new Shining Force 2? Follow along for a concise guide to the first eight battles fought along the way.
The Key Players
Players:
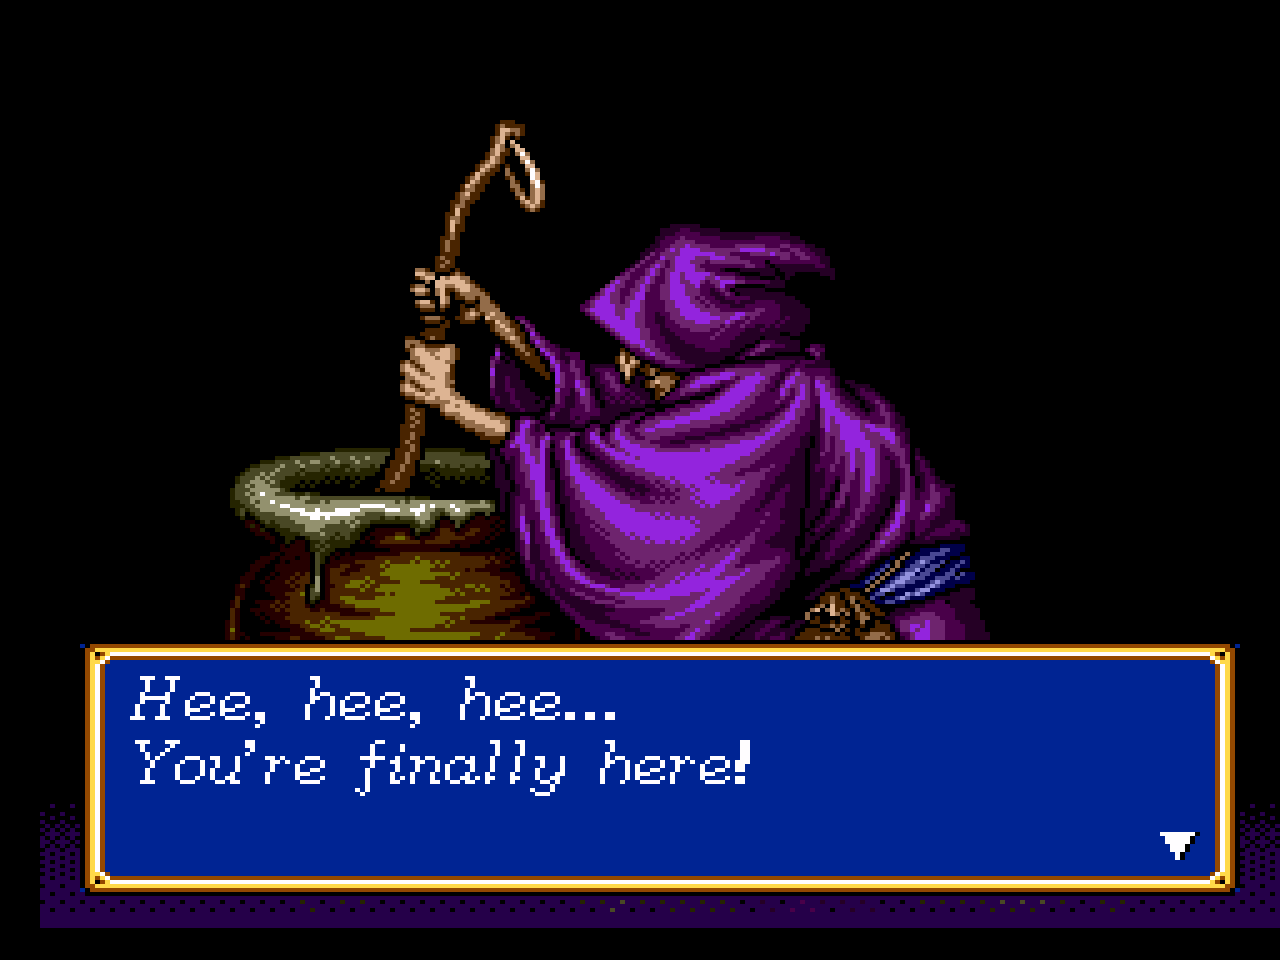
- Sir Astral is not only your mentor, but also one of your oldest friends. Trust him with your life, and attempt to protect him at all costs.
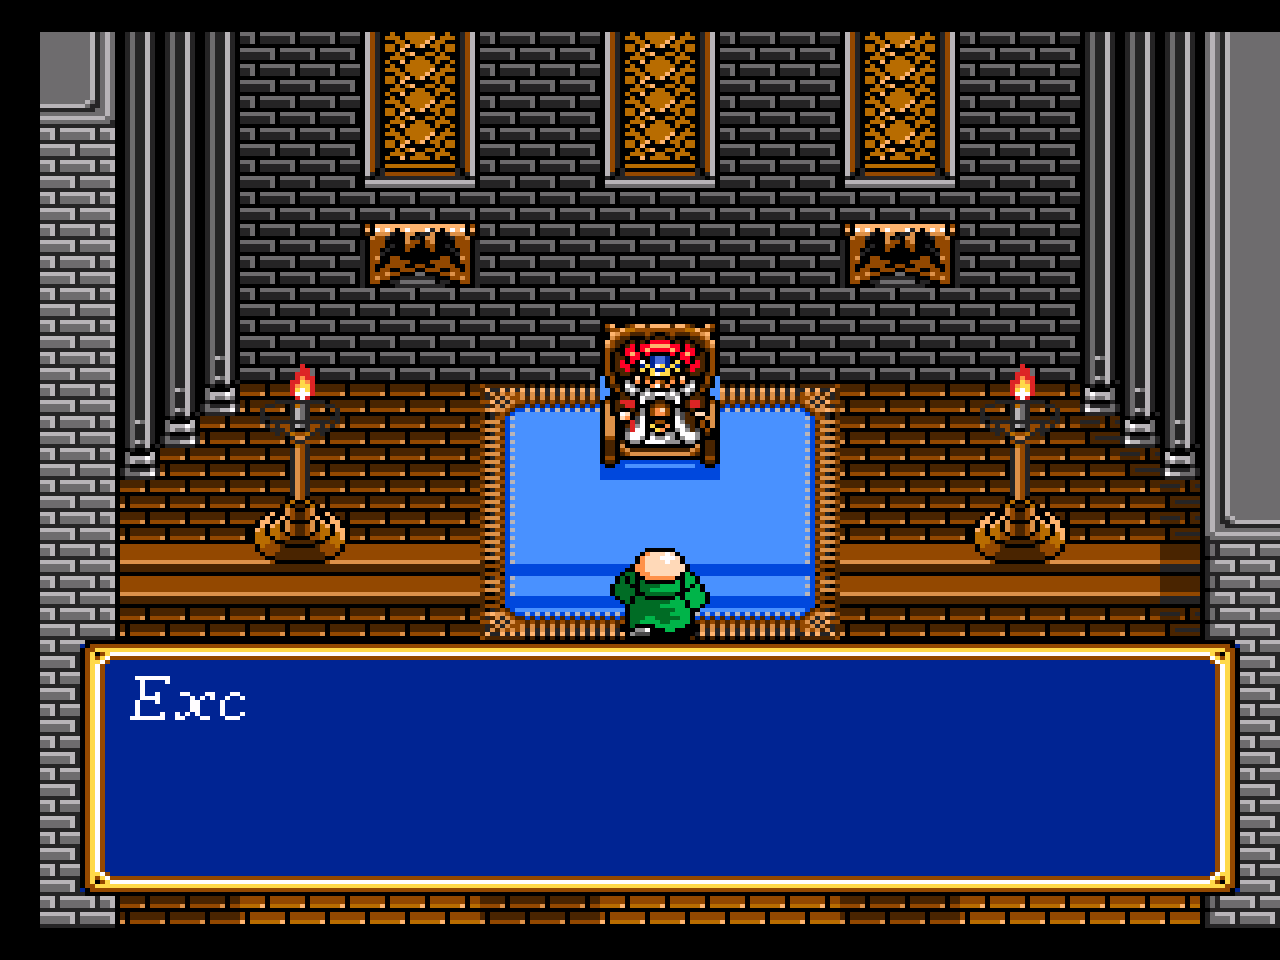
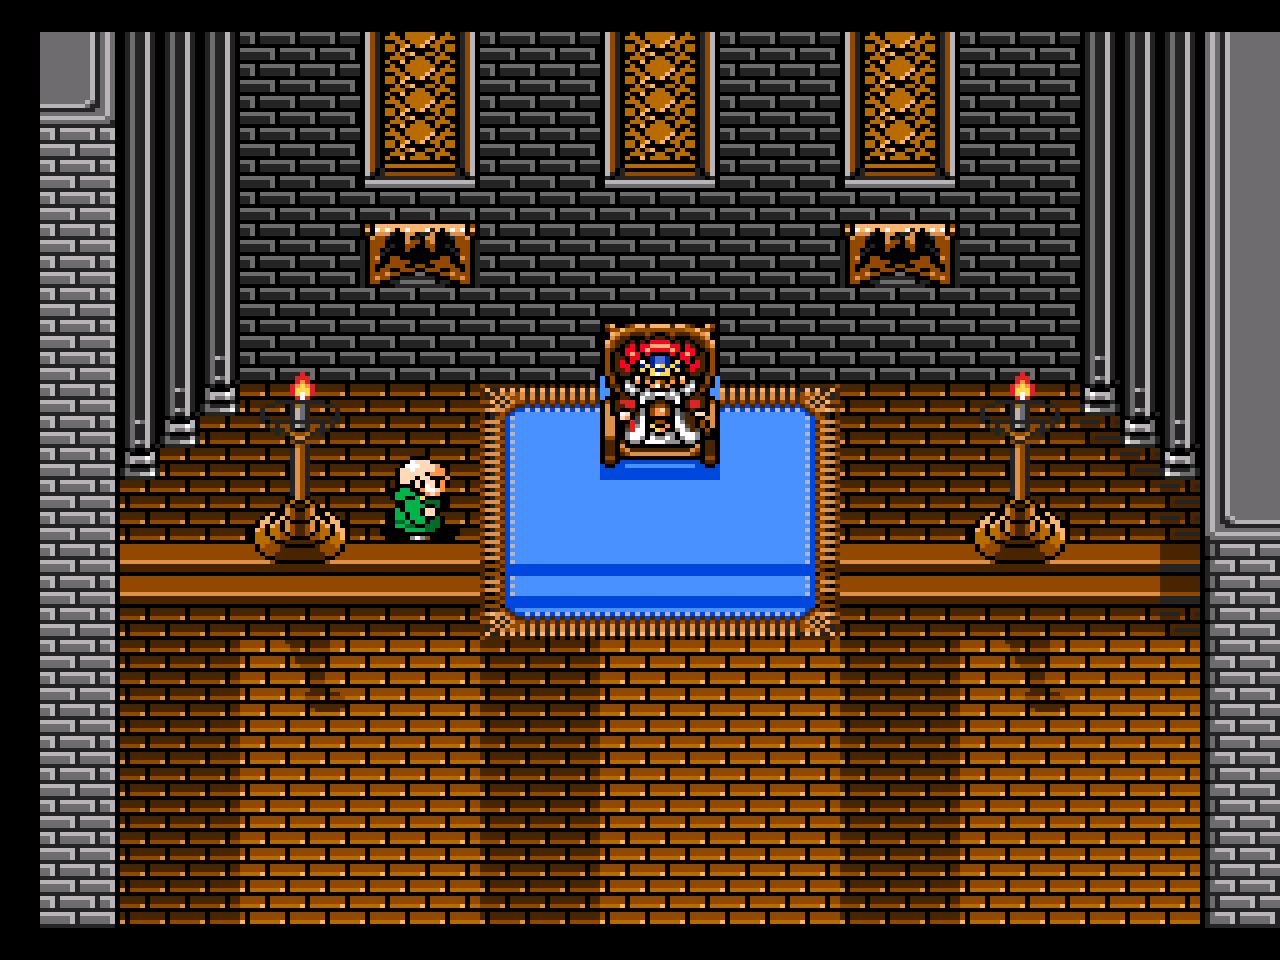
- The king may be a little scatterbrained, but he's still the ruler of Granseal. As his loyal servant, you should follow all of his orders explicitly.
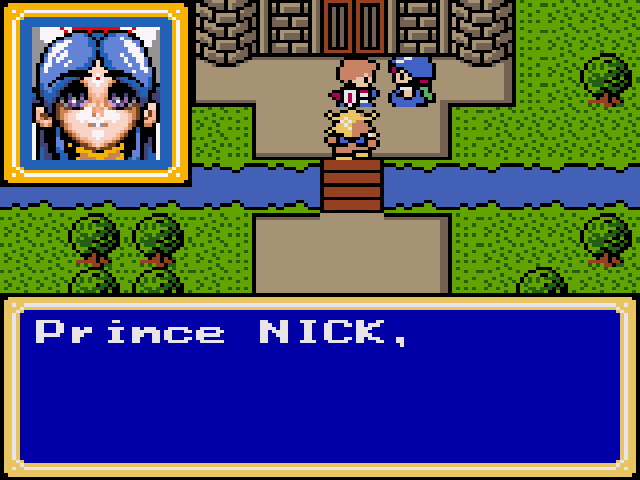
- The Princess is both beautiful and brave, but no amount of courage can save her from the dark fate that lies ahead.
The Blade Trade
I can get it for you, wholesale!
Throughout the land, merchants wait in towns to provide you with the latest in assault weaponry... for a price. Make sure to upgrade to the best weapon you can as soon as you have the funds. By waiting too long to improve your fighting technology, you can end up outgunned in battle when your future hangs in the balance. The charts below tell you where to find the item you're looking for, and how much you should expect to pay for it.
Granseal:
- Short Sword 140
- Short Spear 120
- Short Axe 120
- Wooden Rod 60
- Short Knife 70
Galam
- Short Sword 140
- Short Spear 120
- Bronze Lance 260
- Short Axe 120
- Wooden Rod 60
- Short Rod 130
- Short Knife 70
New Granseal
- Short Sword 140
- Middle Sword 340
- Bronze Lance 260
- Spear 460
- Short Axe 120
- Hand Axe 340
- Wooden Rod 60
- Short Rod 130
- Short Knife 70
Ribble
- Short Sword 140
- Middle Sword 340
- Bronze Lance 260
- Spear 460
- Short Axe 120
- Hand Axe 340
- Wooden Rod 60
- Short Rod 130
- Short Knife 70
- Dagger 320
- Wood Arrow 250
He's Dealin' In Healin'
What you may be needin' after you be bleedin!'
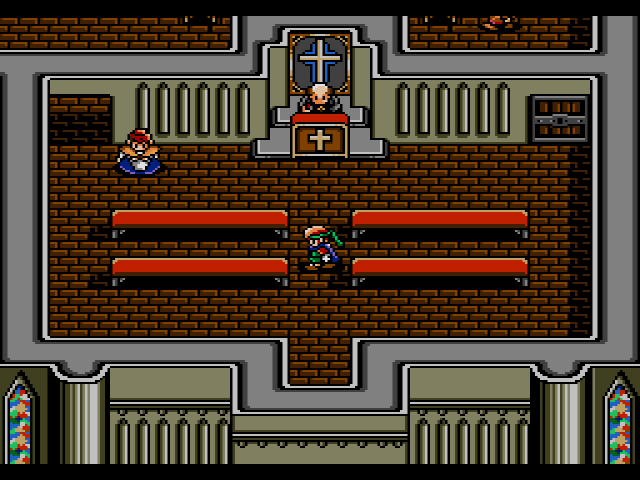
After winning a battle, you should make a beeline for the nearest temple. Though he may look a little weird, the cleric is definitely an adventurer's best friend. From the church, you can resurrect felled companions, cure poisoned comrades, promote the experienced, and most importantly, you can save your game. If you don't take the time to save, you find that an unexpected disaster may cost you several hours of play.
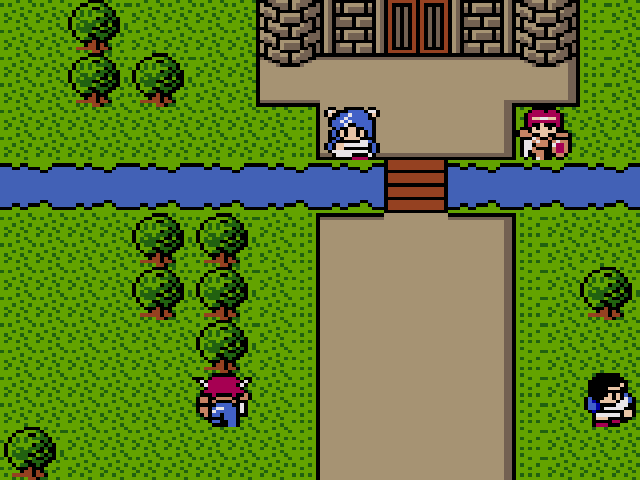
Battle #1: The Lurking Evil
These guys should be Number One on your Hit List:
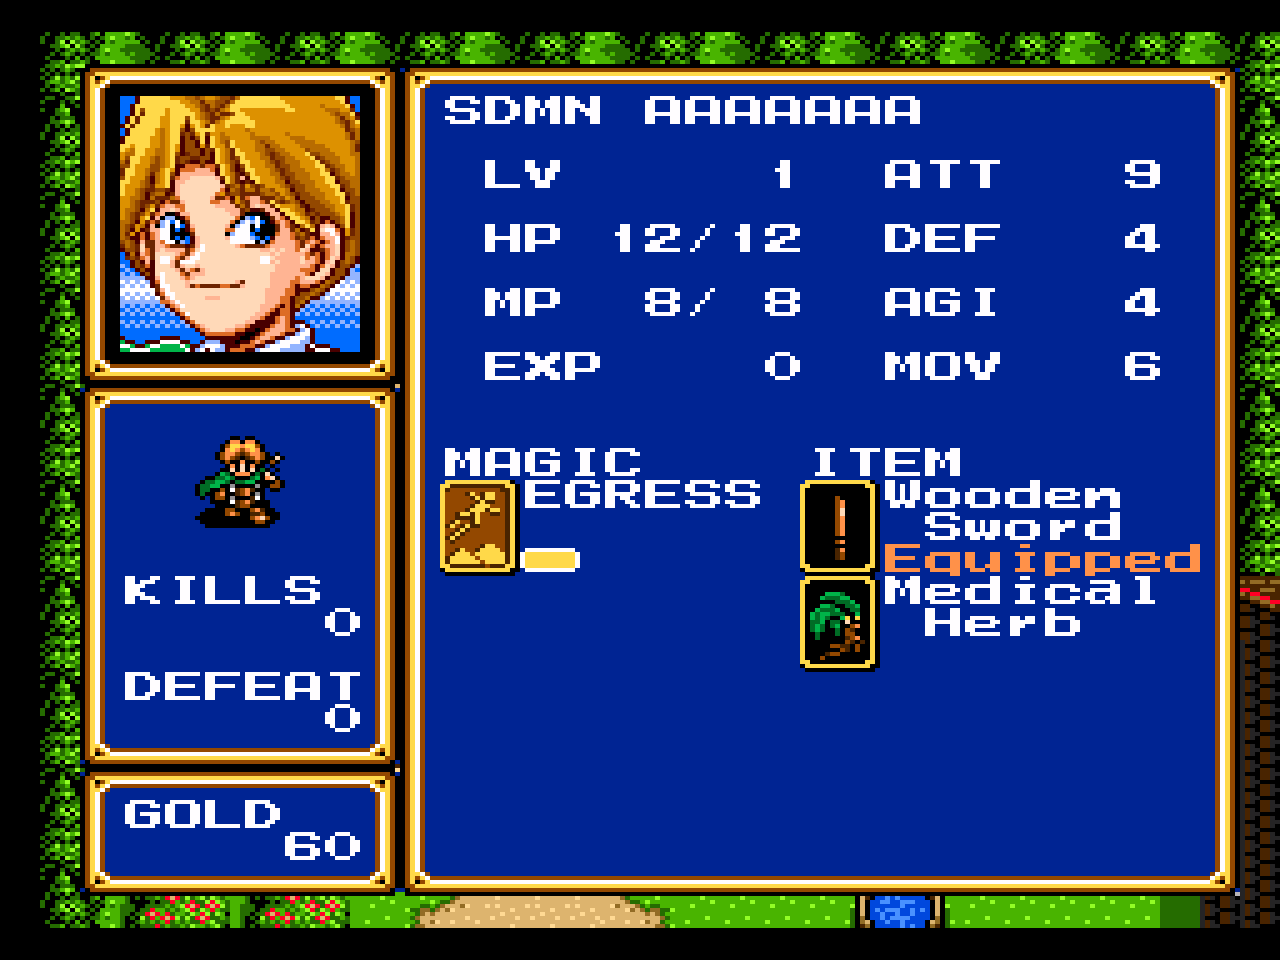
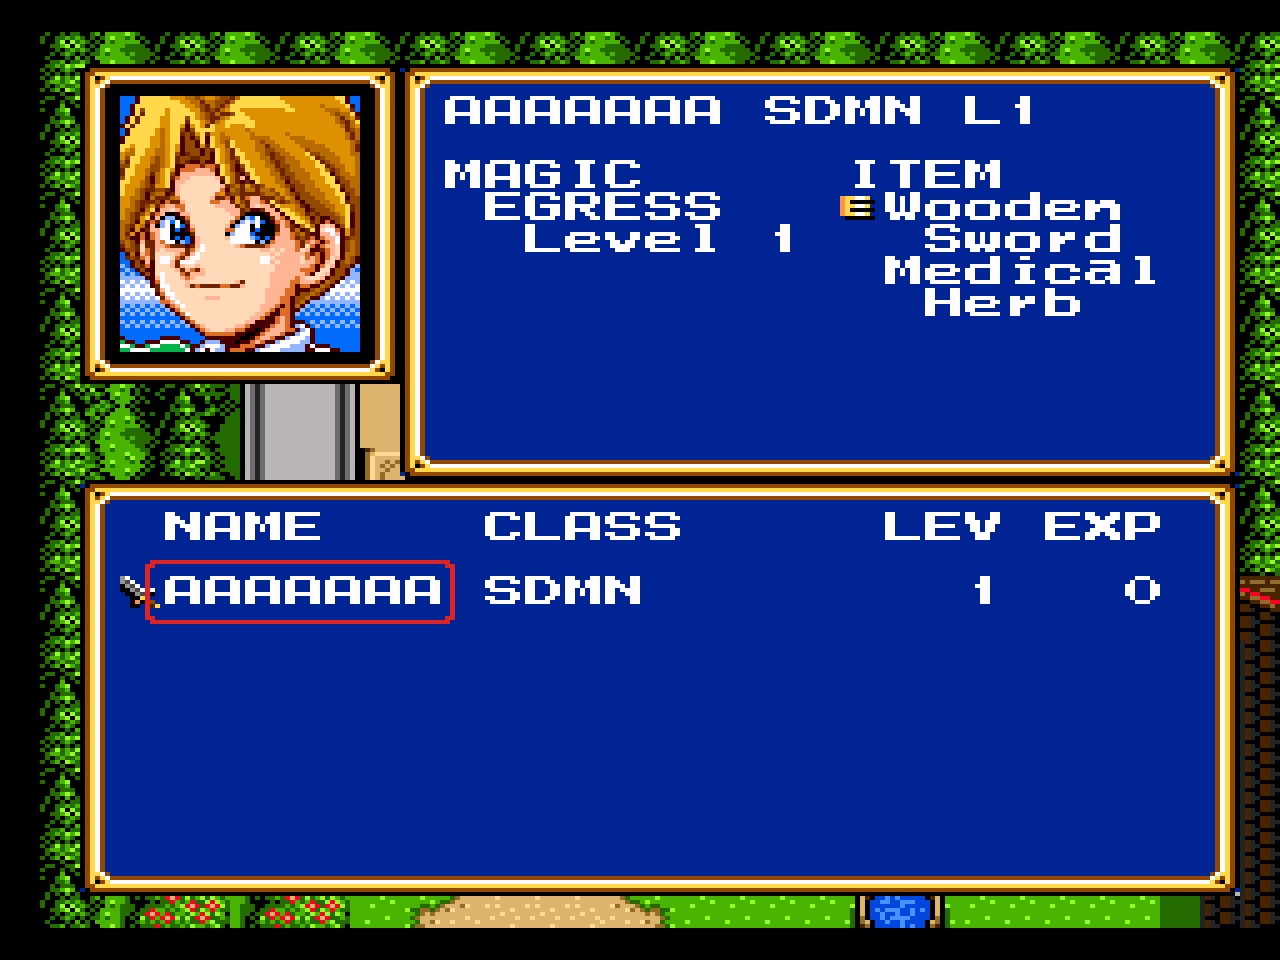
- Bowie: Though you may have named him something different, round these parts, we know him only as Bowie. Skillfully wielding his mighty sword, Bowie can be very useful in combat, but remember... if he dies, your game is over!
- Sarah: She's quiet, she runs fast, and she doesn't pack much of a punch, but Sarah is probably second in importance only to Bowie. As a priest, Sarah can heal the wounds of your characters in combat, insuring that you don't have to spend a fortune on resurrections.
- Huey: Of the original three, Huey is without a doubt the best fighter. His ability to use the spear allows him to attack squares that aren't adjacent to him, and his impressive defensive ability keeps him from taking as much damage as his peers. As he gains in experience, Huey becomes a force to be reckoned with.
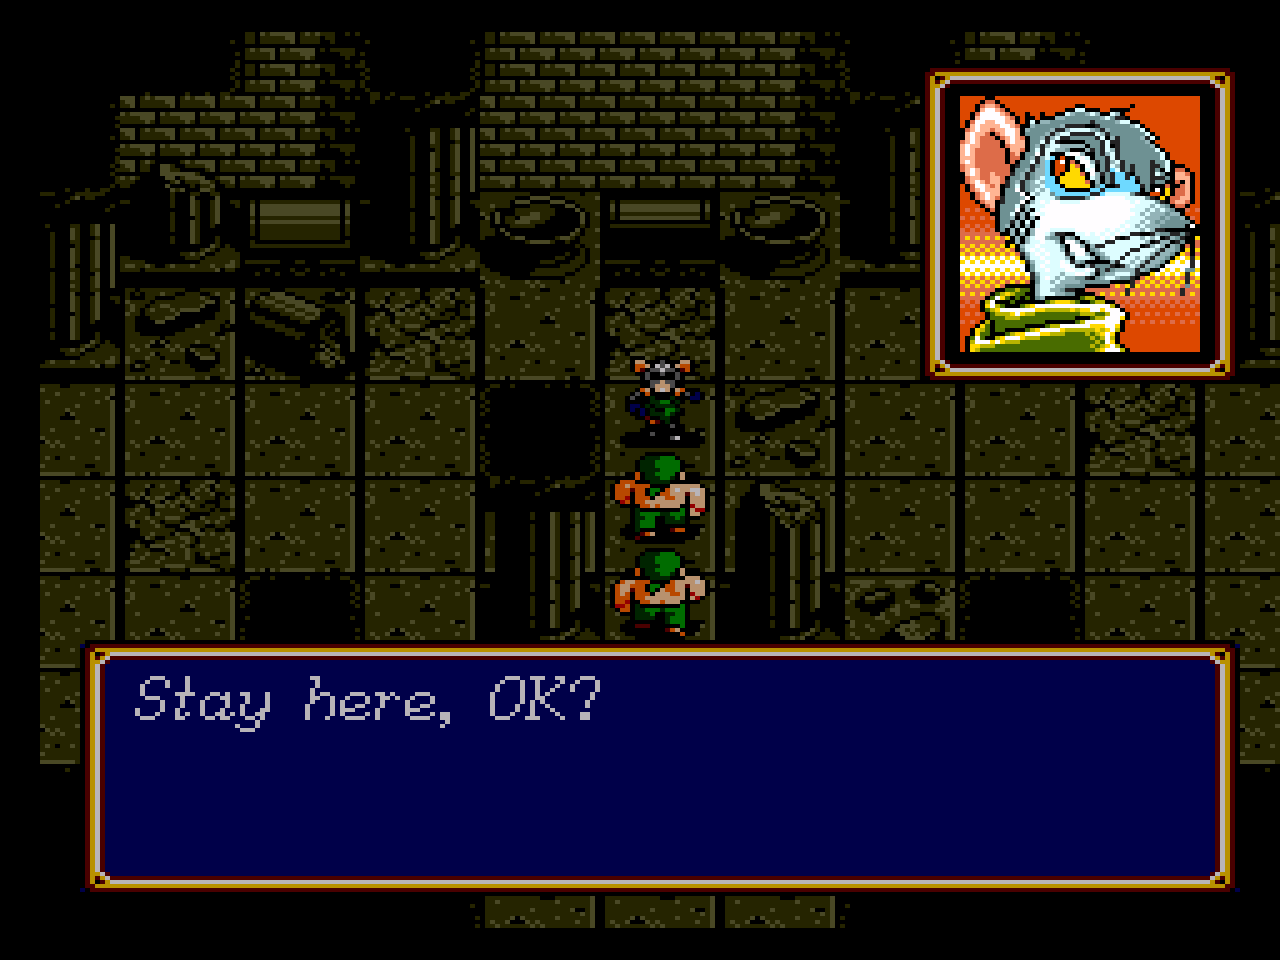
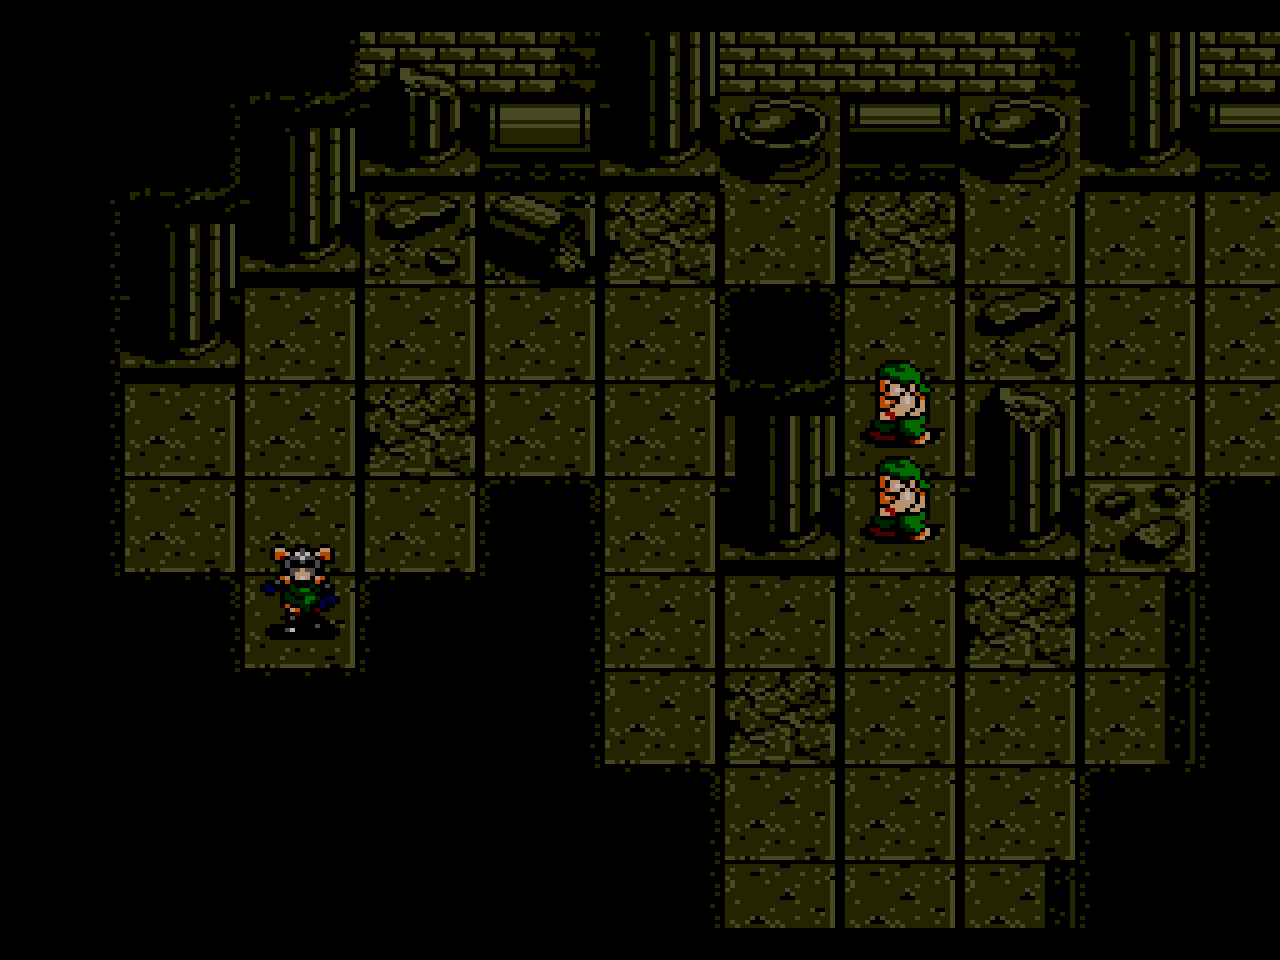
Team up on the Gizmos, and try to kill them one at a time. In this first bathe, like all of the others, try to slowly advance so that only a couple of enemies advance to attack at a time. Finally, until you begin to fight magic-users, keep your team close together to prevent any player from getting stranded.
This Gizmo is nothing but trouble. Once he is discovered, he brings several of his friends out to fight with you. After the battle is over, this foul beastie shows that he's got more tricks up his sleeve.
Battle #2: Outside Granseal
So, you're trapped like rats? Speak for yourself!
On the outskirts of Yeel, you meet Kazin, a student of Sir Hawel's. Follow him to his master's house, but don't expect too much help from him yet.
Welcome to Yeel! Actually, this small village really doesn't have much to offer. Just follow the trail, and for heaven's sake, leave those chickens alone!
Huge Rat: Carrying more punch than anything you've faced so far, this rodent can kill Bowie if he manages to get a back-to-back attack opportunity. Handle with care...
Ooze: What can you say about Ooze? It's slimy, It's slow, and it wants to hurt you. As long as they don't double team you, these drips should be no problem.
Take full advantage of Jaja's powerful attacks by placing him at the forefront of the melee. Use him to whittle down the more powerful opponents to the point where they don't pose too great a threat for Bowie.
This is your first shot at a real battle, so be a little more careful than you were in me first fight. Slowly advance towards the nearest Ooze, and try to kill it before the Huge Rat has a chance to attack you. Make killing this beast your next priority. Like your first fight, by to stay together.
Battle #3: Hawel's House
It's a dead man's party...
More of the woodland creatures are determined to make your journey a little more difficult. Like always, stay tightly grouped, and kill the heavy opponents first.
When his master dies, Kazin decides to travel with you back to Granseal. Fortunately for you, he never decides to leave...
Huge Bat: Sort of a big rat with wings, the Huge Bats also have the ability to put you to sleep (much like the young Chris Slate). Wait until you can have several members of your team attack at once before approaching this one.
Keep Sarah close to Bowie whenever possible. If he slips to within ten points of death, immediately have her heal him, or you run the risk of losing me battle by default.
An example of why you need to avoid the bat until the last possible minute. Even without the sleep spell, this winged furball can lay a whoopin' on ya.
After entering the small hut, the team discovers a mortally wounded Sir Hawel being tormented by Galam soldiers. With his dying breaths, he tells you to return to Granseal and restore the Ground Seal.
Battle #4: Return To Yeel
With a rebel Yeel, they cried more, more, more!
The path to Yeel is blocked by the same group of soldiers who just cruelly murdered Sir Hawel. Instructed by their mysterious leader to take you alive, these soldiers are a whole new fighting experience.
Galam Soldier: The basic grunt troop, these armored troops can hit pretty hard. Try to team up and kill the closest troops quickly, and don't let them tie you up for the archers.
Galam Archer: The first example of a projectile opponent you may face, the best way of handling these skillful opponents is to rush them with the whole team. In this battle, rubbing out the archers MUST be your first priority.
The powerful Lemon has good reason to seem wishy-washy, but don't expect him to listen to your pleas. He is a ruthless opponent, and far stronger than you are used to facing.
This is your first opportunity to let Kazin's magic work for you. In every battle, try to use up all of Kazin's magic points by the end of the battle, so that he gets as many opportunities to gain experience as possible.
Battle #5: Escape From Galam
Or, how you do the voodoo that you do so well!
During your escape, you overhear two knights discussing the recovery of one of the two magic gems. While you are distracted, a battle begins. Watch out for the mages, and save some energy for those knights.
Jippo helps out by busting the party out of jail. Once you start to leave the room, he offers a more subtle plan for escape.
In spite of your daring victory, Lemon overpowers the team, and drags you off to rot in Galam's Dungeons. Sigh, there's just no justice in life.
Galam Knight: In many ways the evil counterpart of Huey, these warriors are both heavily armed and armored. Keep in mind that since they are using spears, they do not need to be adjacent to your characters to attack. Galam Mage: This is your first experience at dealing with enemy magic. Fortunately, these somewhat dim mages can only attack one opponent at a time, so staying grouped together is still a good idea.
Like Kazin, the enemy mages attack with fire. Be careful! Characters who normally aren't hurt too much in combat may fall before the power of black magic.
Battle #6: Homeward Bound
Hail, hail, the goons all here!
Attempting to sneak past the guards outside of Galam won't do any good, and you have to face-down yet another goon squad. Pay careful attention to the Dark Cleric at the bottom of the screen. His healing spells can undo a lot of your party's hard work, so when you reach the bottom of the screen, attack him first
Dark Cleric: These poisonous pagans give you no end of trouble. In addition to being able to heal enemy units of the damage you have inflicted, they can also slam you physically for some major damage.
Jippo isn't the greatest fighter, but he can be of some help in combat. Try to have him sneak in and finish off enemies, so that his experience goes up quickly.
Use a technique like this one to surround these knights. By getting your party together like this, you should be getting at least three attacks on each of your foes.
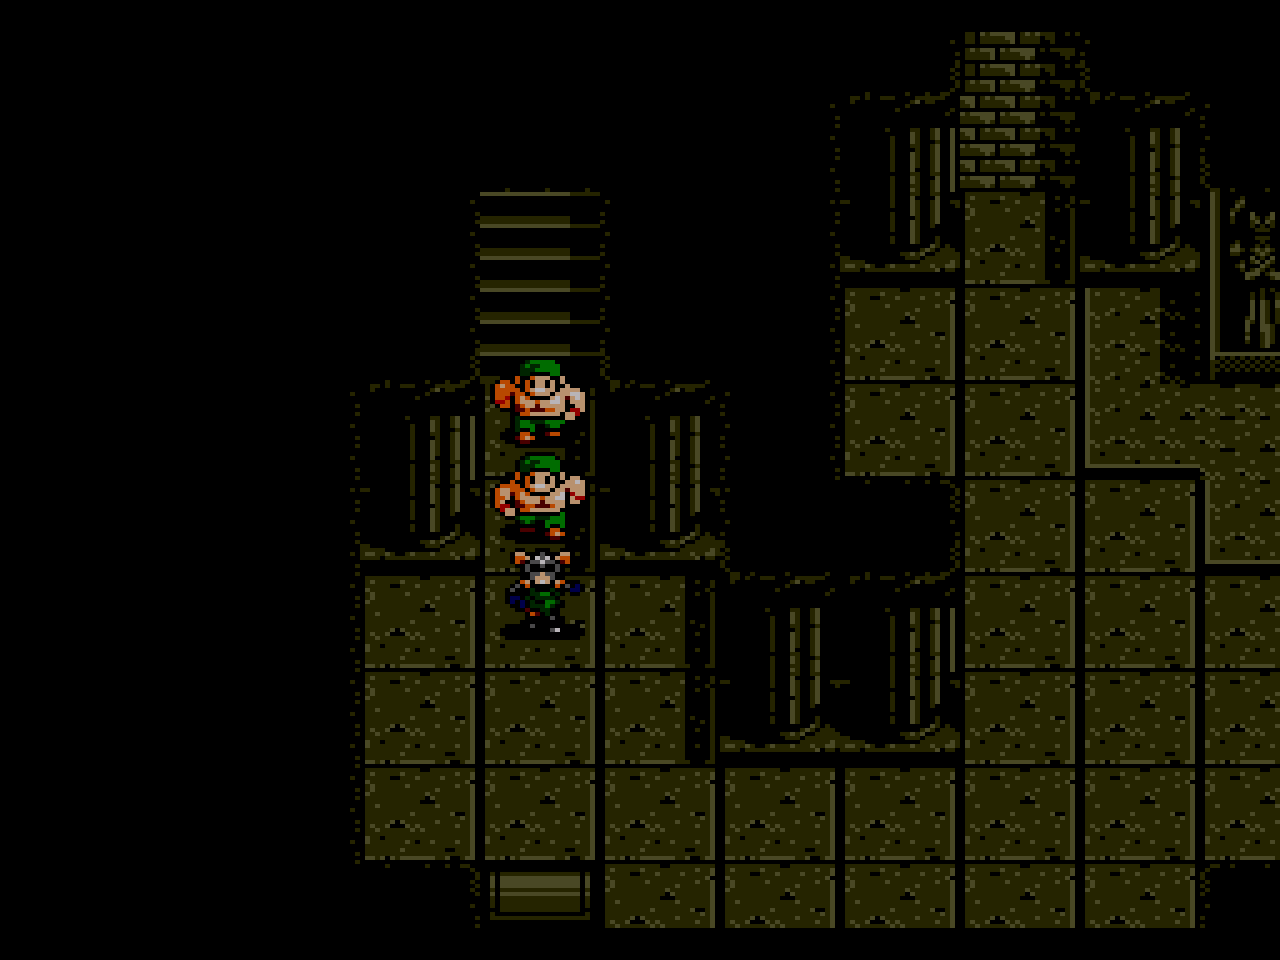
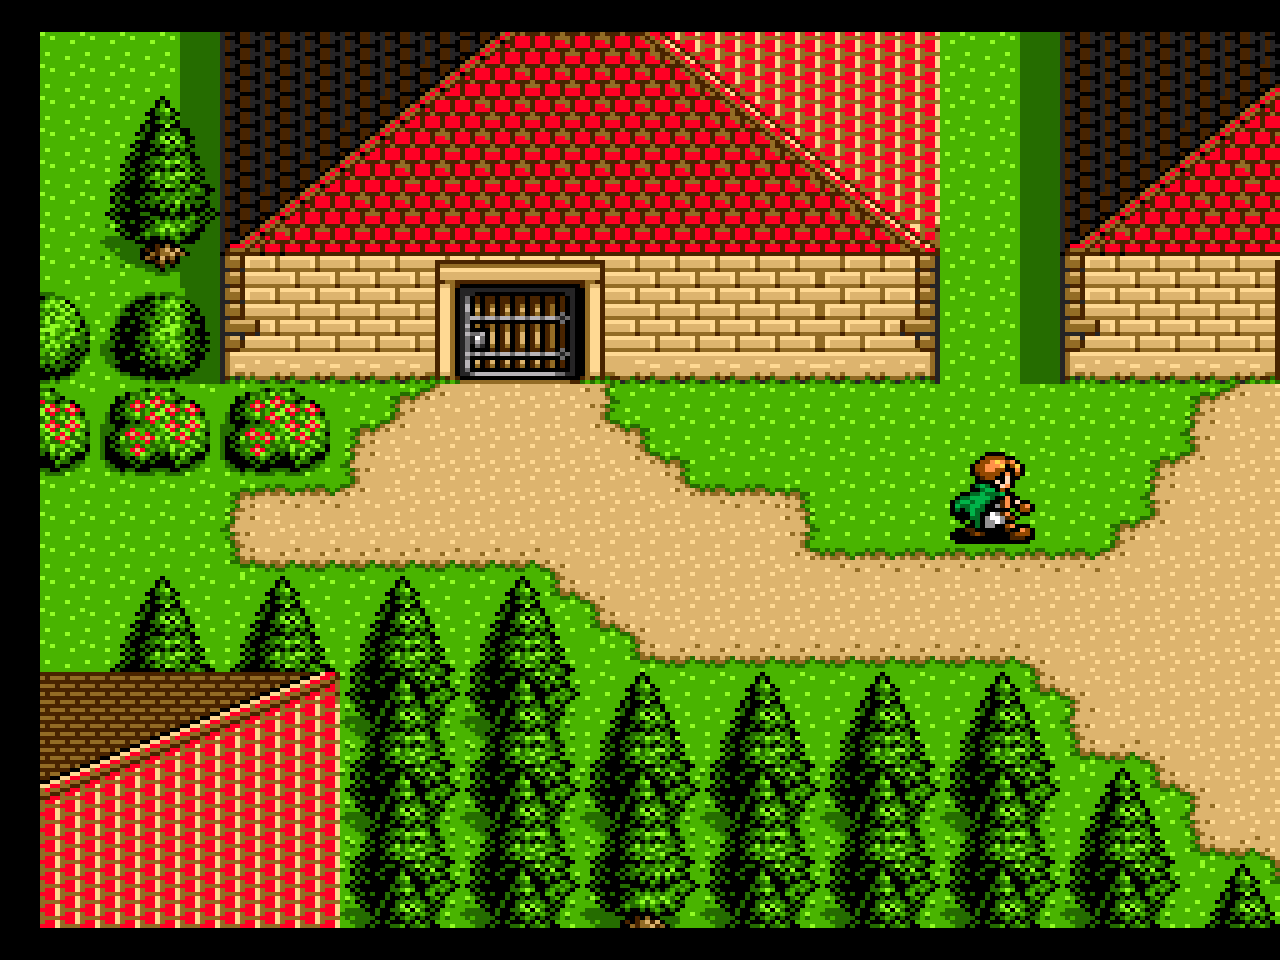
Before you go into the castle, search this small storage room and you find a hungry and scared Kiwi. This little lunk is going to make an excellent addition to the force.
Those villainous Galam soldiers had done one good thing - now that the cage is broken, those mistreated animals are free to return to their homes.
Battle #7: Tower Troubles
What goes up, must come down.
After the battle between the two mages, Galam orders the darkest of his minions to attack the force. Stay calm, you can do it!
Dark Smoke: They may took like Gizmos, but these suckers are ten times as mean. Watch out for their life sapping strength, and their ability to attack twice in some combat rounds. Try to have an area cleared before you have to fight these monstrosities and conventional troops at the same time.
In front of the tower, you find the loyal Lemon breathing what seems to be his last breath. It's too bad he had to be on the wrong side of the fight for so long.
It all comes down to this... does your team have the muscle to power your way past the minions of the possessed king? Don't worry about interference from Galam. Thanks to Astral's spell, he's unable to move. Stay close, and don't advance in more than one direction at a time. Once again, have Sarah stick to Bowie like glue.
By moving in Jippo when the big enemy's hit points get low, you can help him gain enough experience to raise his level.
Reentering the castle, it's obvious that the Galam army has beaten you home. The peaceful tower guards didn't have a chance...
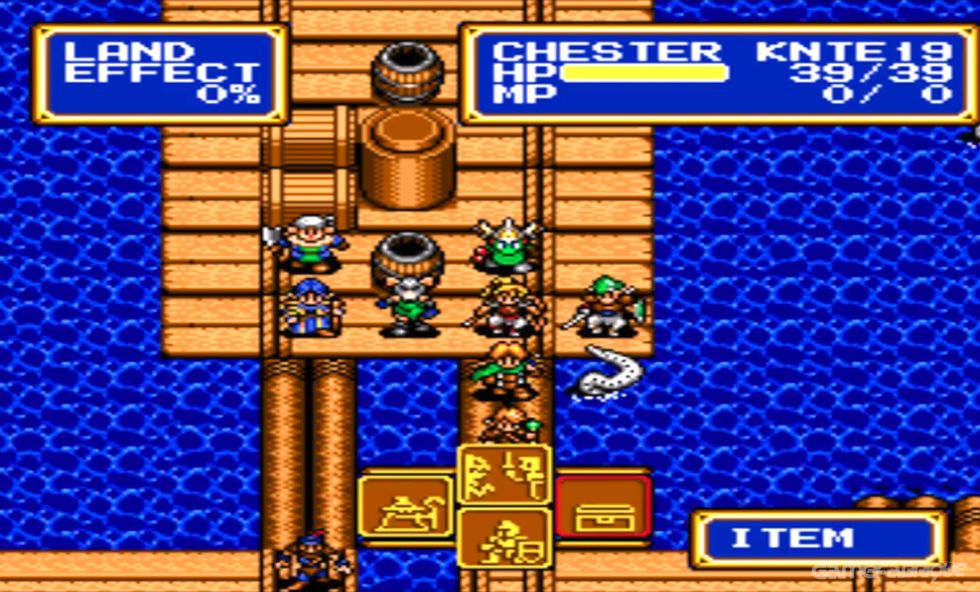
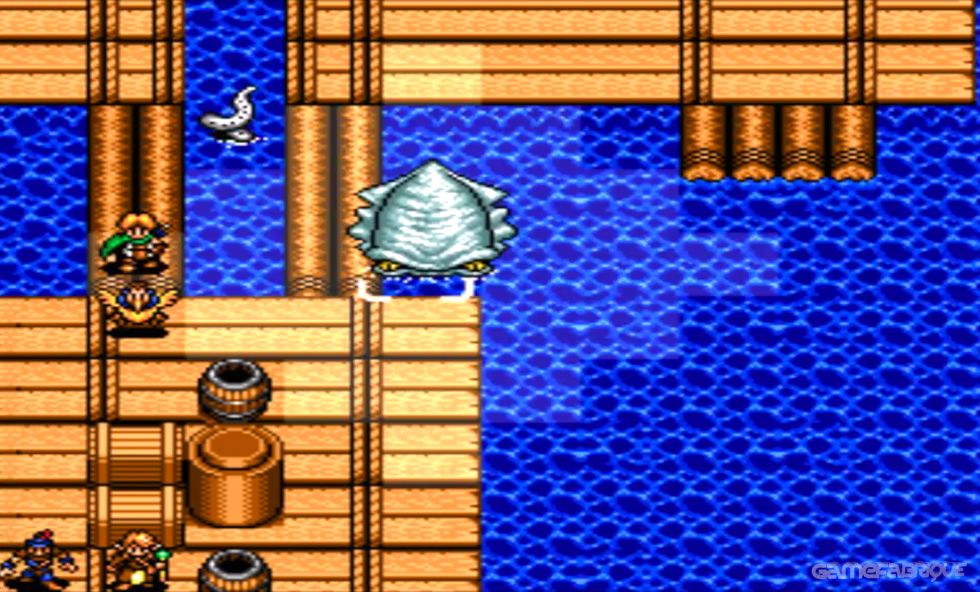
Battle #8: A Whole New World
Just when you thought things were going to slow down a bit...
On this mission of mercy, you come up against an all-new cast of baddies. Take the bottom path around the lake, and attack the northernmost monsters from the east. From here you're on your own, but by now your characters should have the strength to survive with little or no trouble.
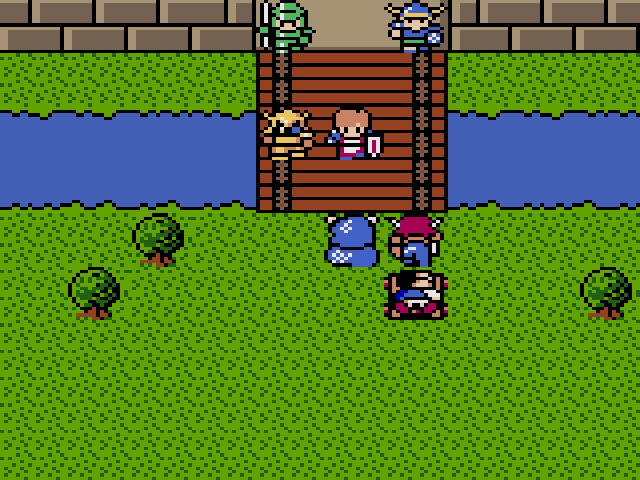
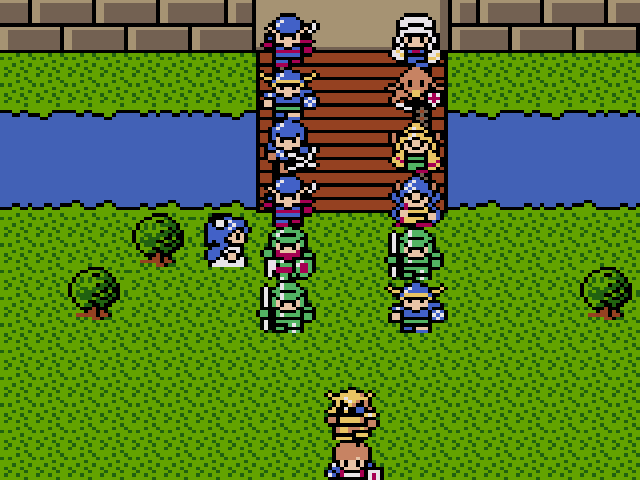
After the opening of the door to the evil world, the city of Granseal begins to tear apart. Flight is the only answer.
The eastern continent of Paramecia promises to be a wonderful new home for the people of Granseal. The only problem is that in order to create a new town, they must tear apart their only means of returning home.
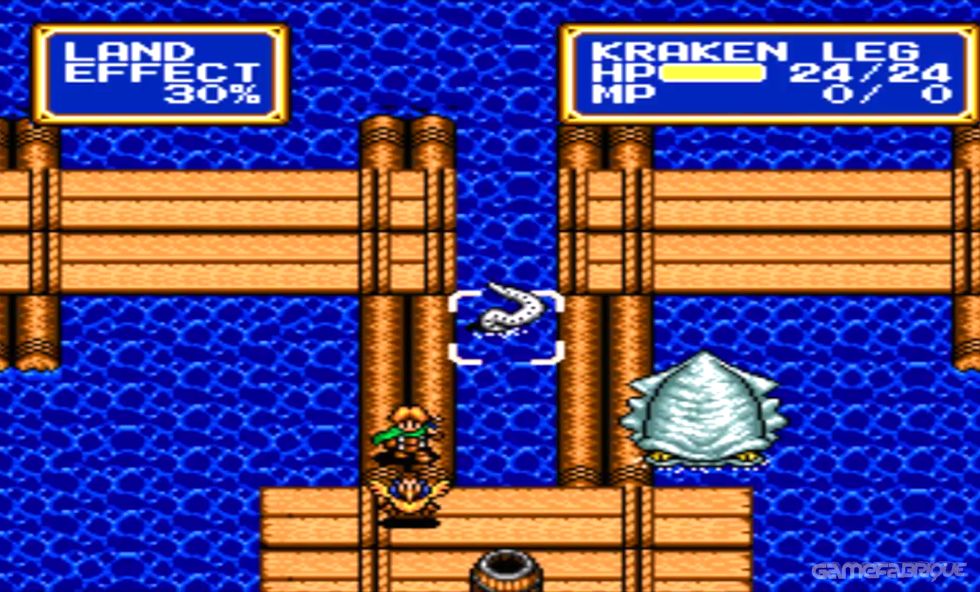
Witch: Another spell-slinger, the witch uses frost instead of fire to do her dirty work. Her spell is a lot more deadly than anything you've faced yet, so try to stay out of range until you're fully prepared.
Goblin: The basic land-fighter of Paramecia, the goblin is fairly slow, but has considerable strength and shielding.
Hunter Goblin: The continent's equivalent to the standard archer, the Hunter Goblin can put a serious dent in your character's health from a distance. Take great care with these guys...
- Mega Drive
The hottest news this month has got to be the fact that the awesome RPG/strategy game Shining Force is getting a sequel! 16 Megs of power make this one game not to be missed. Although it contains a lot of Japanese text, there is a possibility that this game will come to these shores. Like before, you control a slowly growing band of fighters intent on freeing the land from the tyranny of the evil forces that have sprung up again. The play mechanics of the first game are back. The archers still fire great distances, while priests still heal. Secrets abound in this mysterious land, and a treasure awaits those who search. Who knows what the careful player may find...
When compared to the first version, you can easily see how much better this one is. Visually, it is much richer, and the audio track is among the best for the Mega Drive. Shining Force 2 may be one of the best sequels ever. Despite being a military simulation for the most part, this game is loaded with thrills!
Snapshots and Media
Sega Genesis/Mega Drive Screenshots


GameGear Screenshots


Similar Games
Ultima VII is a role-playing game, which was released in two parts, Ultima VII: The Black Gate (1992), and Ultima VII, Part Two: Serpent Isle (1993).
